开始之前
本项目面向有一定 Lightning Web Components 开发经验的 Salesforce 开发者。如果你还不熟悉 LWC,建议先完成 Build Lightning Web Components 轨迹中的相关徽章。同时假设你已配置好 Salesforce DX 开发环境,能熟练地用其创建 LWC 并部署到 org。
项目简介:Bear Watch 即时通知应用
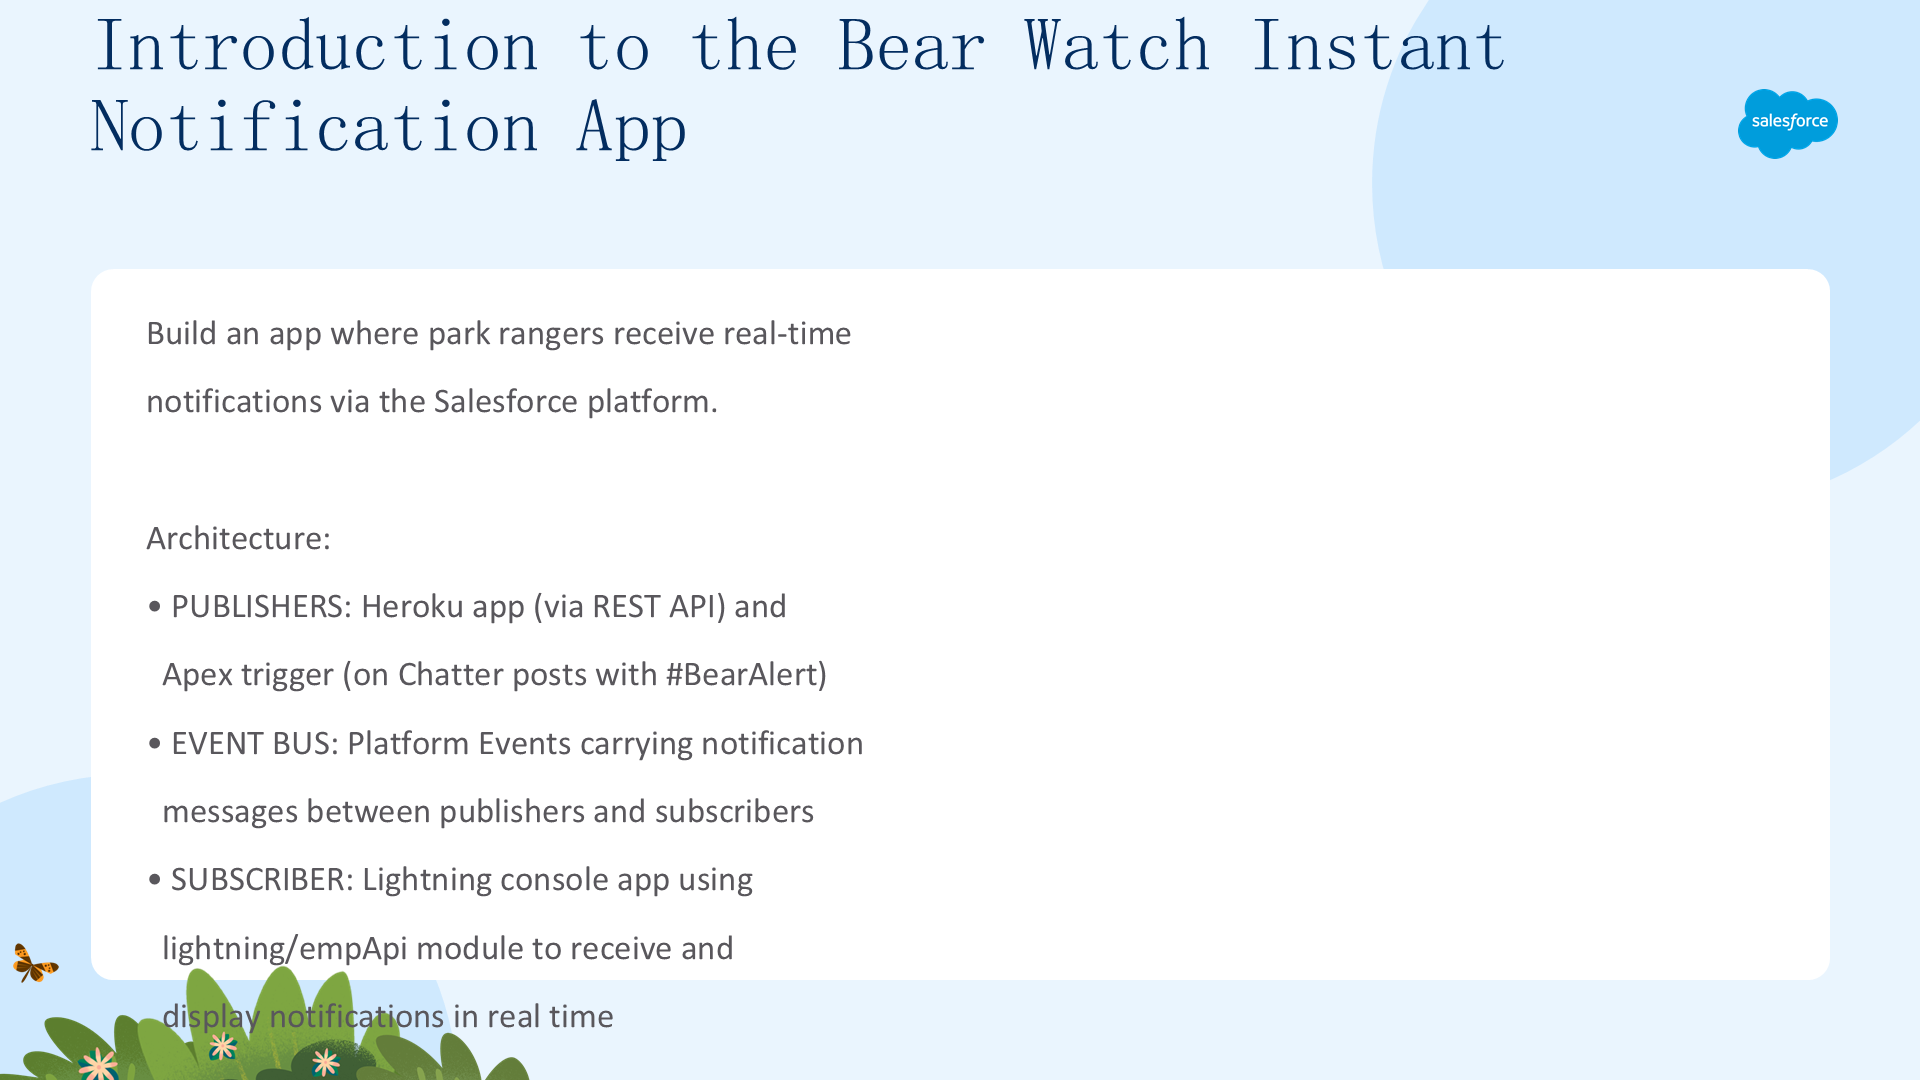
在本项目中,你通过构建一个即时通知应用来学习平台事件(platform events)。借助这个应用,公园护林员可以通过 Salesforce 平台实时接收通知。

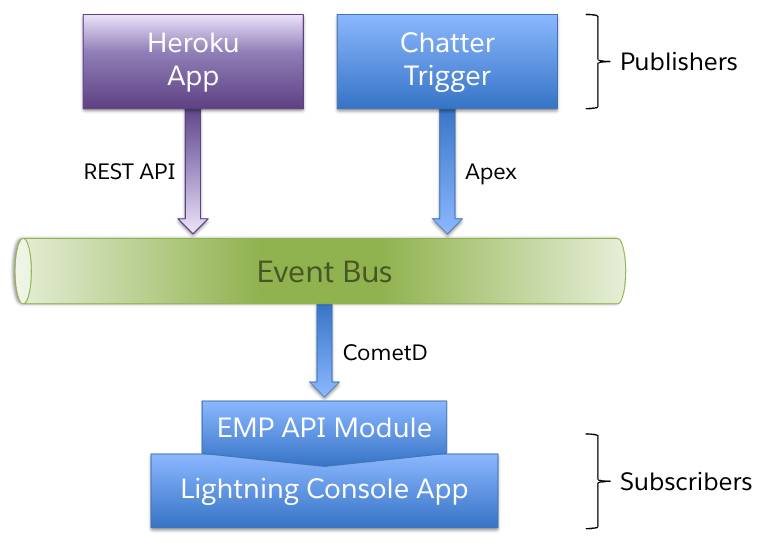
事件由 Heroku 应用(通过 REST API)或 Chatter 帖子上的 Apex trigger 发布,由 Lightning console 应用通过 lightning/empApi 模块订阅 Event Bus 来接收。架构如下图所示:
平台事件概览
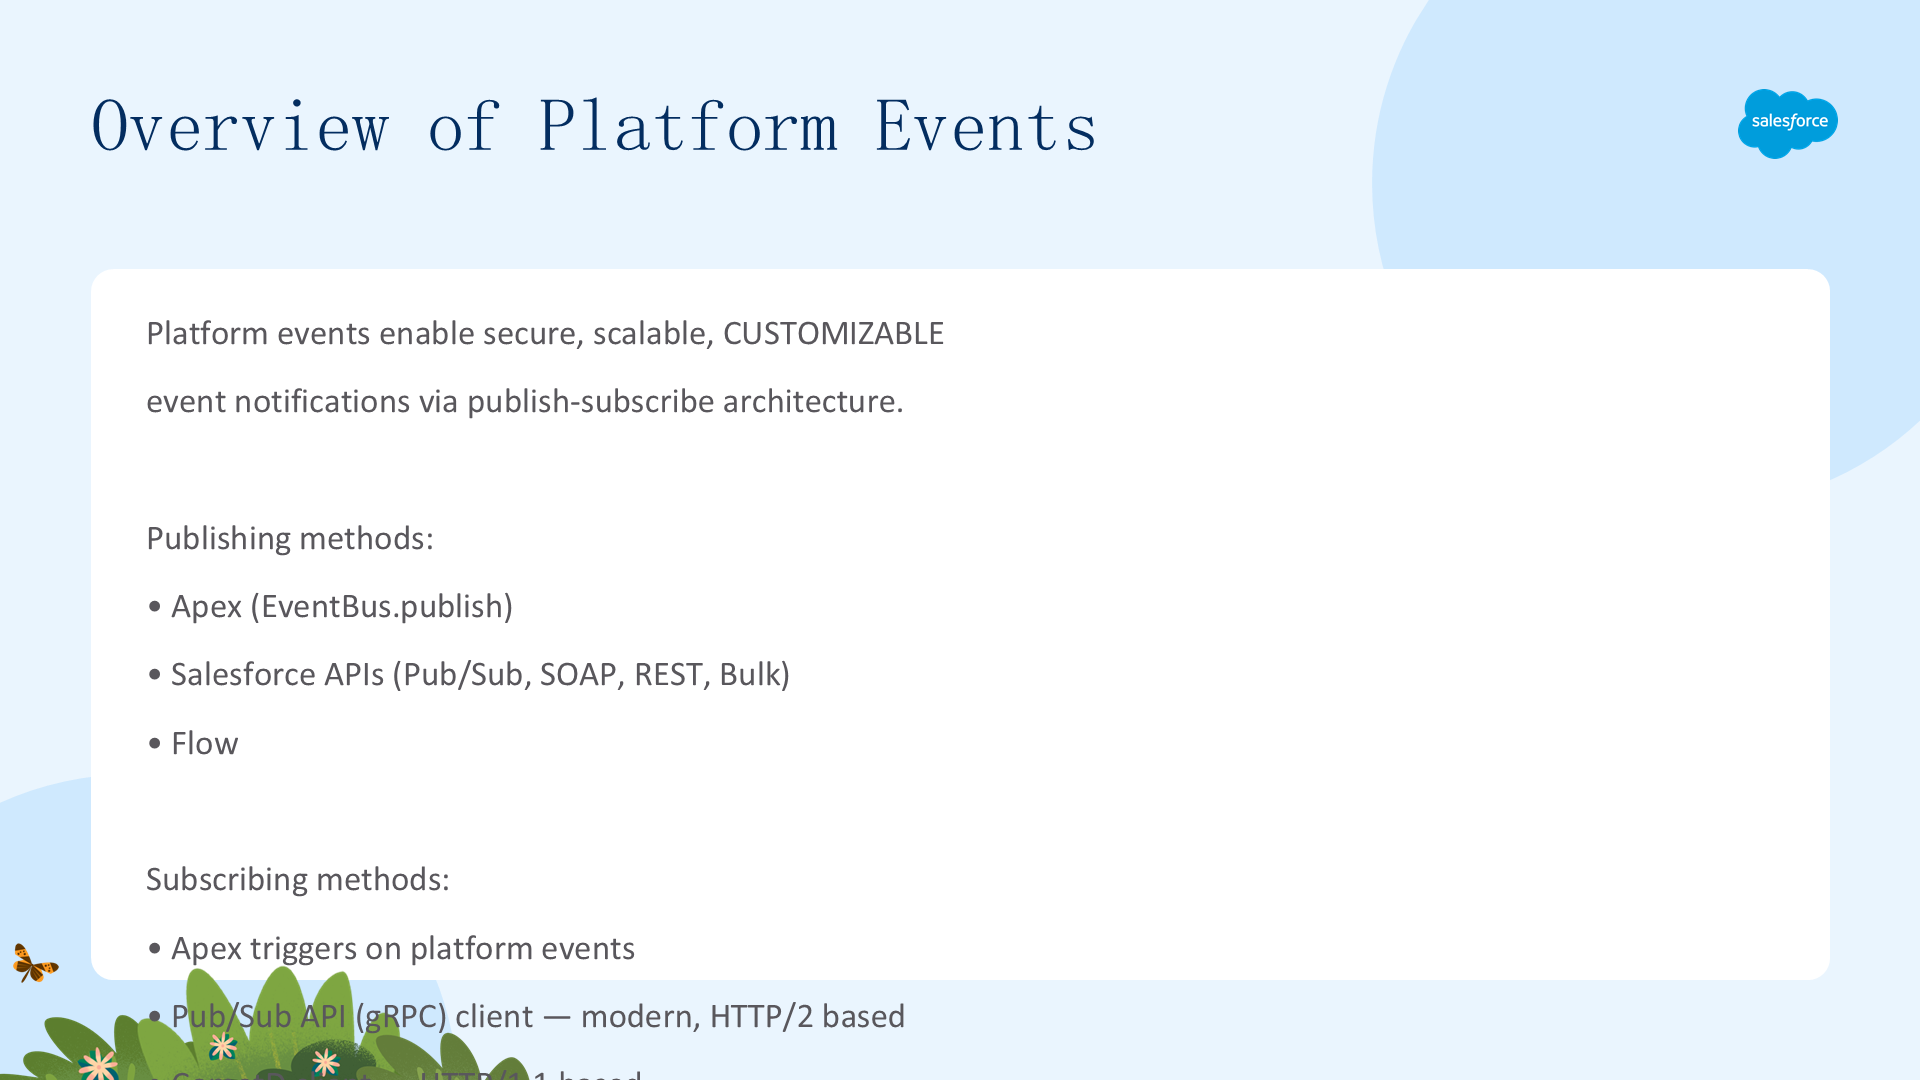
平台事件让开发者能够交付安全、可扩展、可定制的事件通知。借助发布-订阅架构,事件可以在 Salesforce 平台内部或与外部源之间交换。
应用发布平台事件的方式:Apex、Pub/Sub API、SOAP、REST、Bulk API,或 Flow。订阅方式:Apex trigger、Pub/Sub API (gRPC) 客户端、CometD 客户端、lightning/empApi 模块,或 Flow。
平台事件与自定义对象的区别:
- ✓ 像自定义对象一样有可定制字段。
- ✗ 事件只保留 72 小时(不是永久存储)。
- ✗ 没有列出它们的用户界面。
- ✗ 不能通过 SOQL 查询。
事件用于瞬时通信,而非存储。
轮询
轮询(polling)是反复向服务器查询某个资源的行为,用于获得资源状态变化的伪实时响应。最好避免在网页中使用轮询,因为它无法扩展——每个轮询都是一次 HTTP 请求,大量用户 × 大量轮询会导致服务器过载。
平台事件用推送(push)取代轮询:服务器在事件发生时推送给订阅者,没有浪费的请求,可扩展——一个事件能触达成千上万的订阅者。推送总是胜过轮询。
创建新的 Trailhead Playground
本项目需要创建一个全新的 Trailhead Playground。滚动到页面底部,点击 playground 名称,再点击 Create a Trailhead Playground,通常需要 3-4 分钟。注意:必须是全新 Playground,使用现有 org 可能导致挑战无法完成。
获取 Playground 用户名和密码
打开 Trailhead Playground(若未打开,点击页面底部 Launch)。如果有 Get Your Login Credentials 选项卡,点击它记录用户名,再点击 Reset My Password,查收邮件、点链接、设置密码。若没有,从 App Launcher 打开 Playground Starter 按步骤操作。保存好这些凭证,VS Code 授权时会用到。
设置项目
- 在 Visual Studio Code 中创建一个名为
Instant Notification App的 Salesforce DX 项目。 - 授权你的 Trailhead Playground(
sf org login web)。
开发环境就绪。现在定义平台事件。
定义平台事件
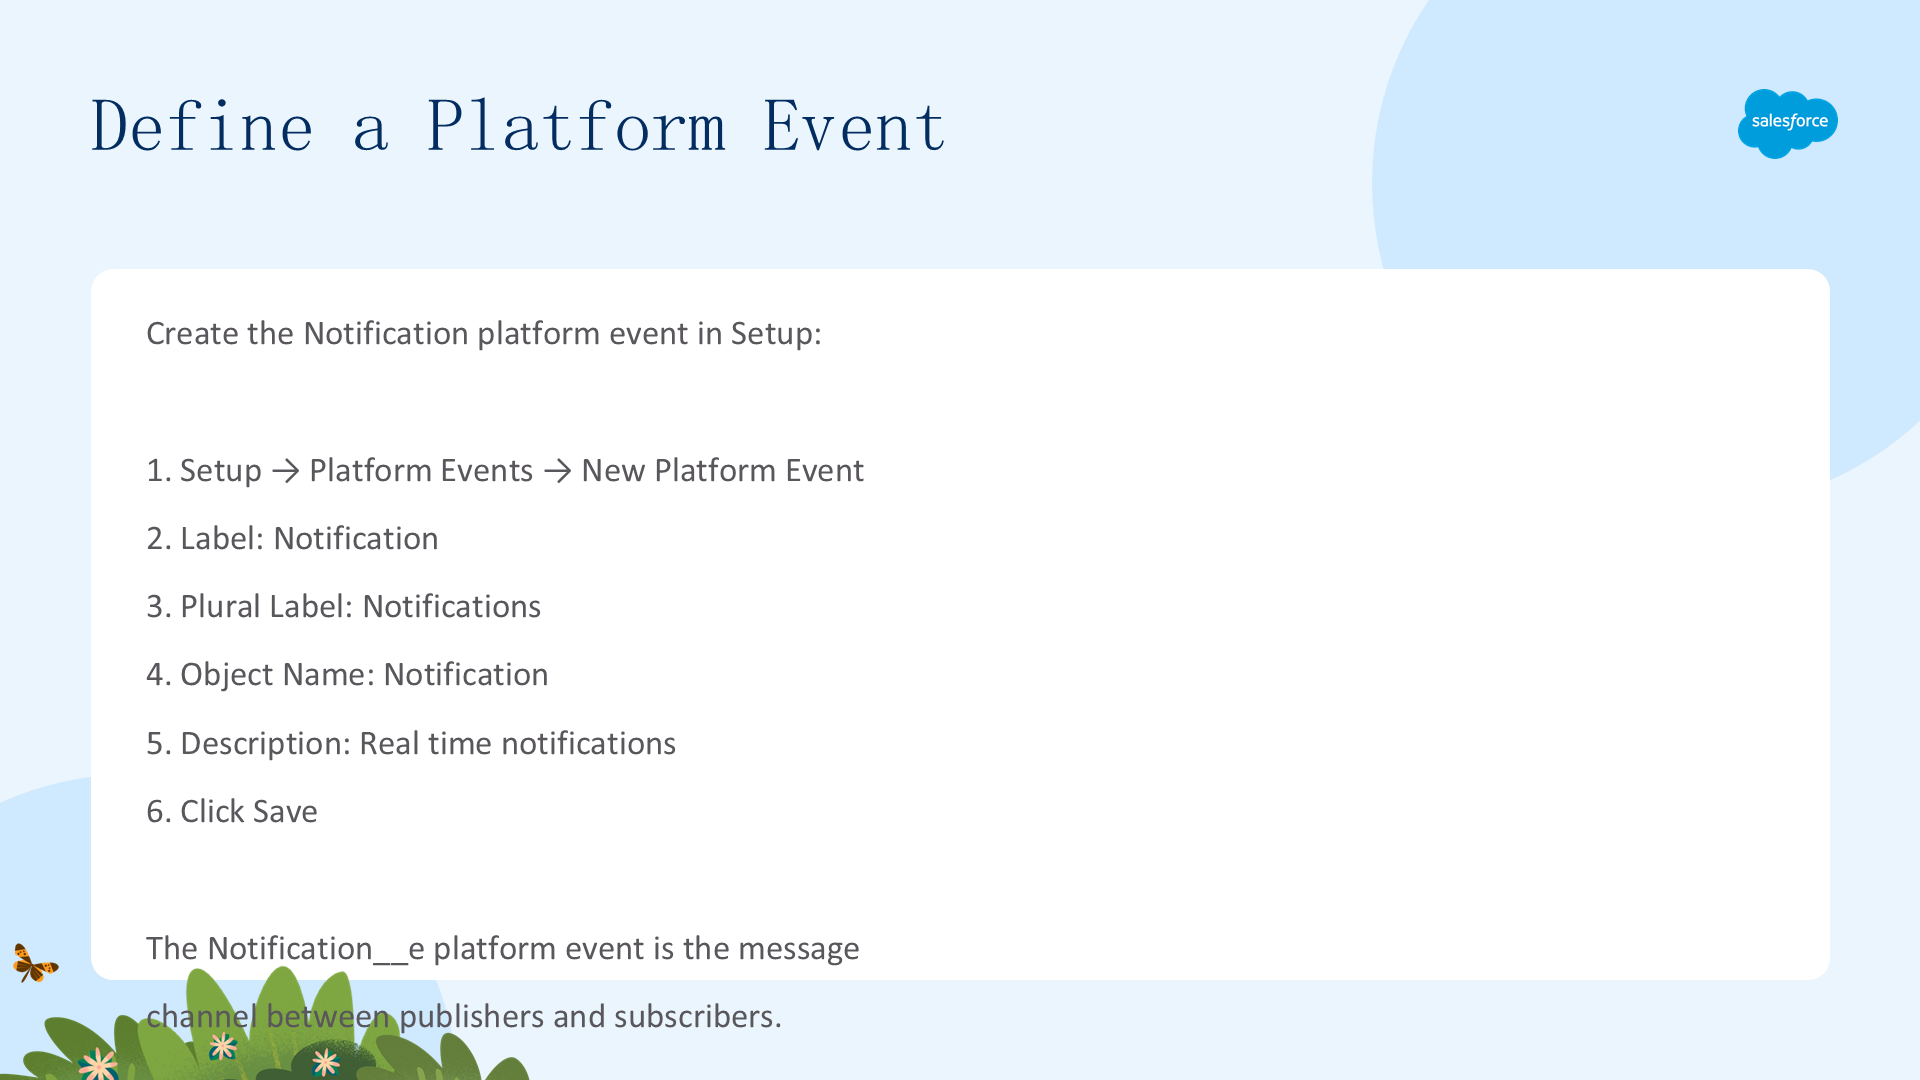
- 在 Playground 中从 Setup 的 Quick Find 输入
Platform Events,选择 Platform Events。 - 点击 New Platform Event。
- 设置:Label=
Notification、Plural Label=Notifications、Object Name=Notification、Description=Real time notifications。 - 点击 Save。
Notification__e 平台事件就是发布者与订阅者之间的消息通道。
给平台事件添加字段
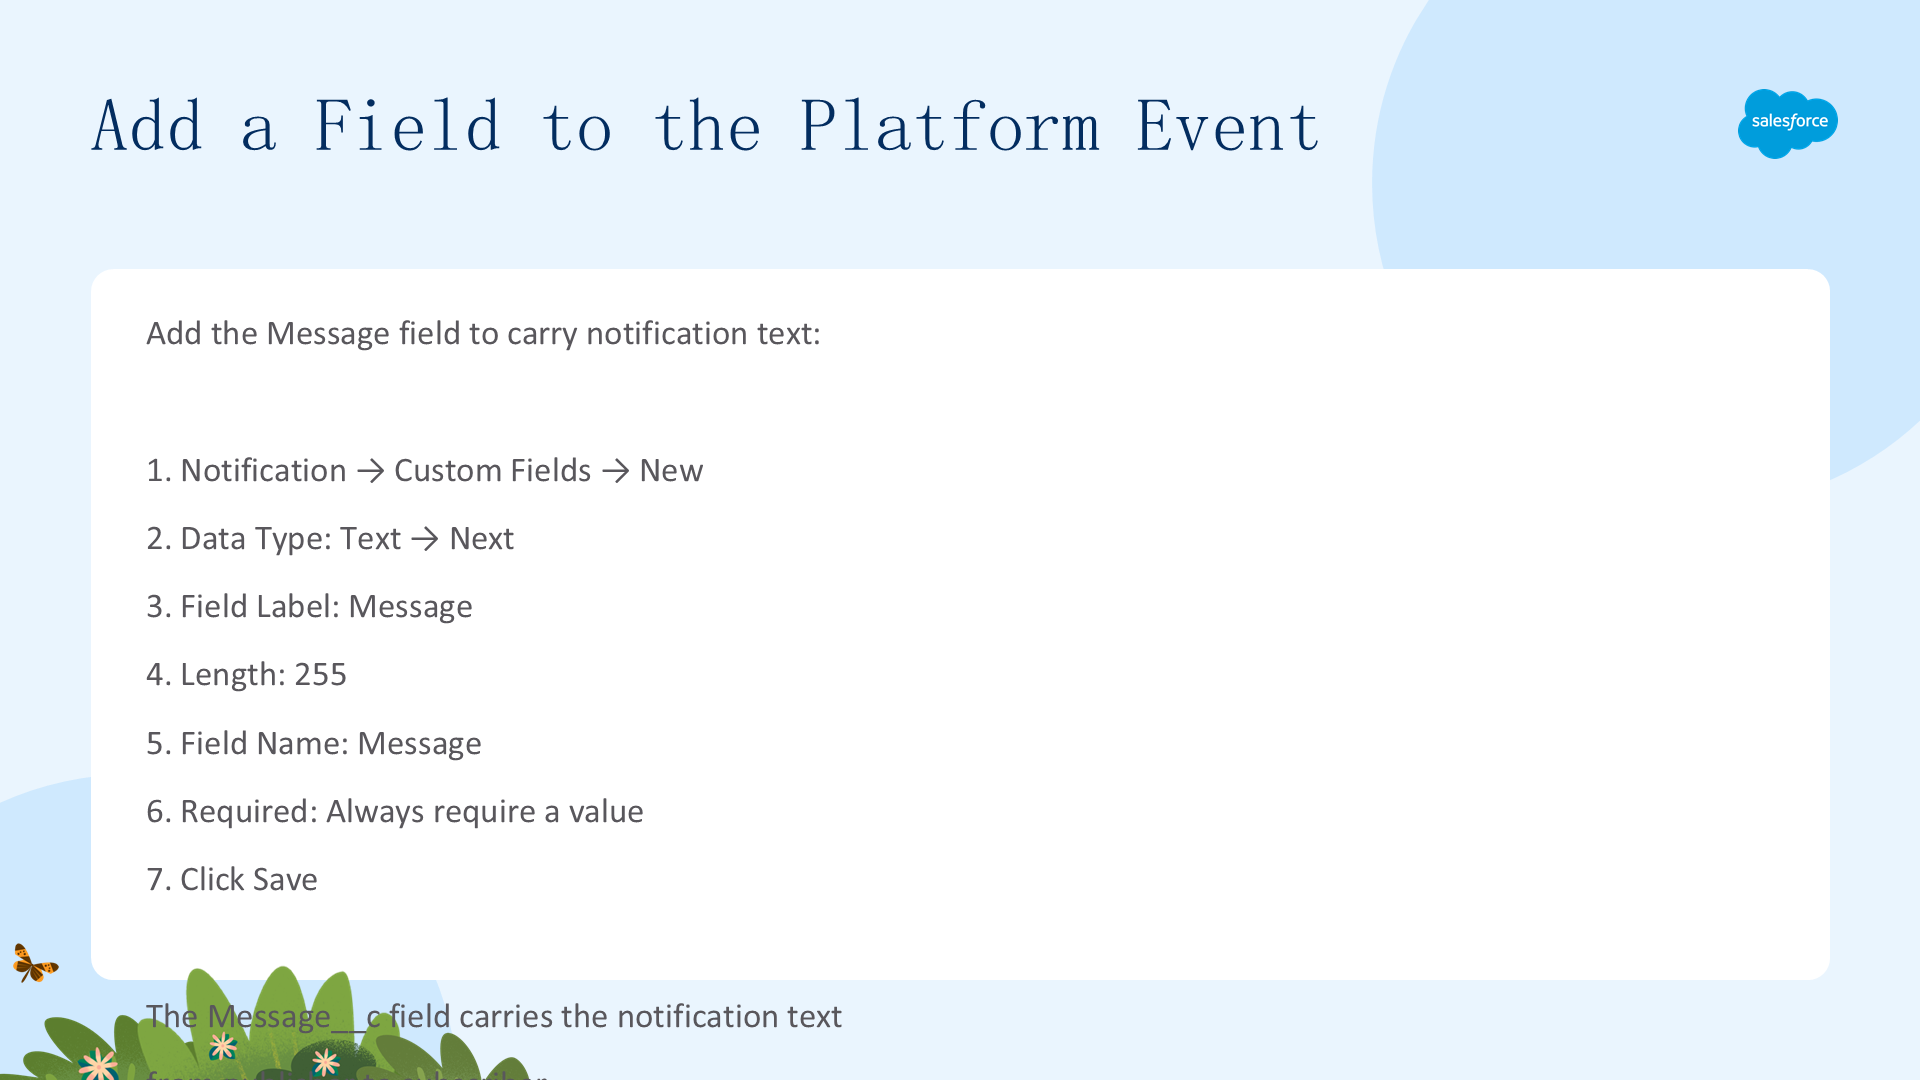
- 在 Notification 平台事件页,点击 Custom Fields & Relationships 里的 New。
- 数据类型选 Text → Next。
- 设置:Field Label=
Message、Length=255、Field Name=Message、Description=The notification message、勾选 Required。 - 点击 Save。
Message__c 字段承载从发布者到订阅者的通知文本。平台事件定义完成,接下来构建订阅者。
创建 Lightning Console 应用
本单元创建 notificationConsole Lightning Web Component(先带静态示例数据),然后把它部署为 Sales console 应用的 utility bar 项。
创建 LWC(JavaScript)
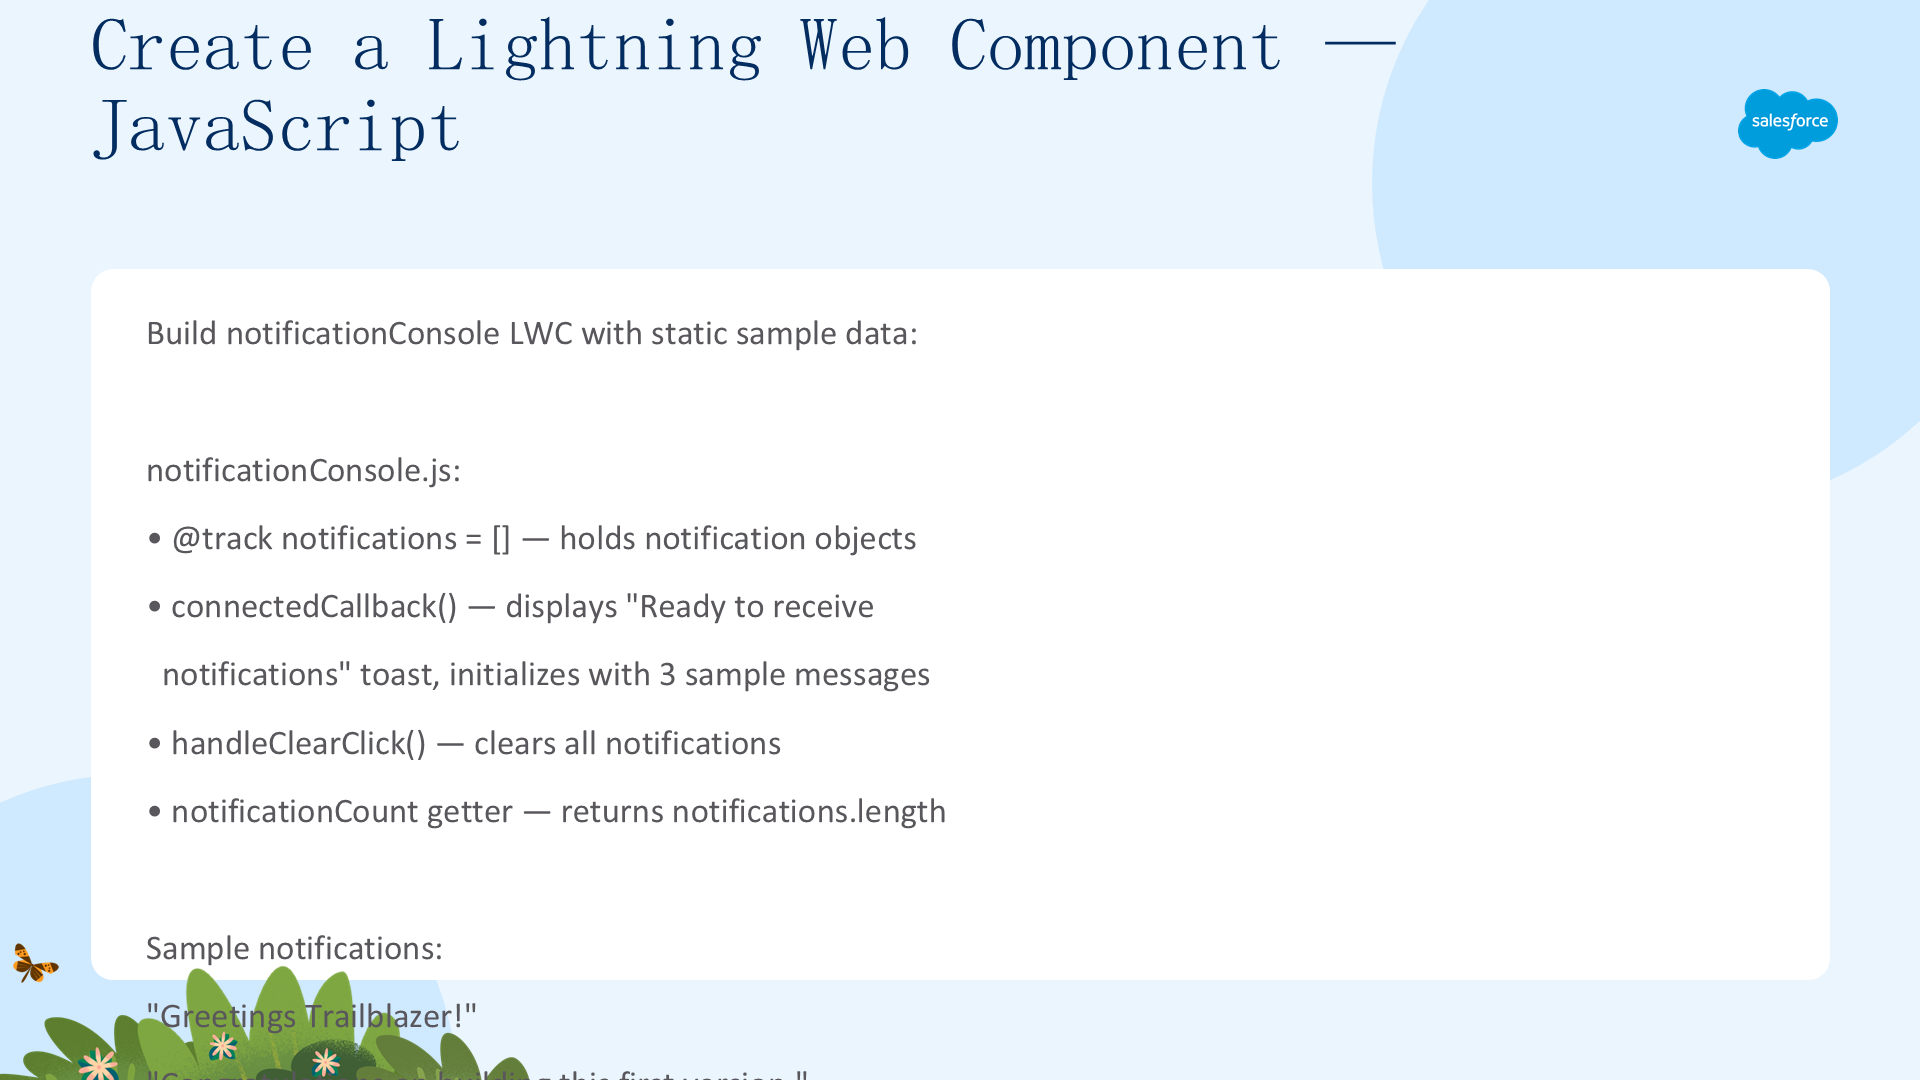
在 VS Code 的 force-app/main/default 下右键 lwc 文件夹,选择 SFDX: Create Lightning Web Component,命名 notificationConsole。替换 notificationConsole.js 内容:
import { LightningElement, track } from "lwc";
import { ShowToastEvent } from "lightning/platformShowToastEvent";
export default class NotificationConsole extends LightningElement {
  @track
  notifications = [];
  async connectedCallback() {
    this.dispatchEvent(
      new ShowToastEvent({
        variant: "success",
        title: "Ready to receive notifications"
      })
    );
    this.notifications = [
      { id: "id1", time: "00:01", message: "Greetings Trailblazer!" },
      { id: "id2", time: "00:02", message: "Congratulations on building this first version of the app." },
      { id: "id3", time: "00:03", message: "Beware of the bears." }
    ];
  }
  handleClearClick() {
    this.notifications = [];
  }
  get notificationCount() {
    return this.notifications.length;
  }
}
代码要点:notifications 存放收到的通知(先用硬编码示例值初始化);connectedCallback 显示「应用已初始化」的 toast;notificationCount getter 返回通知数量。
创建 LWC(HTML 与 CSS)
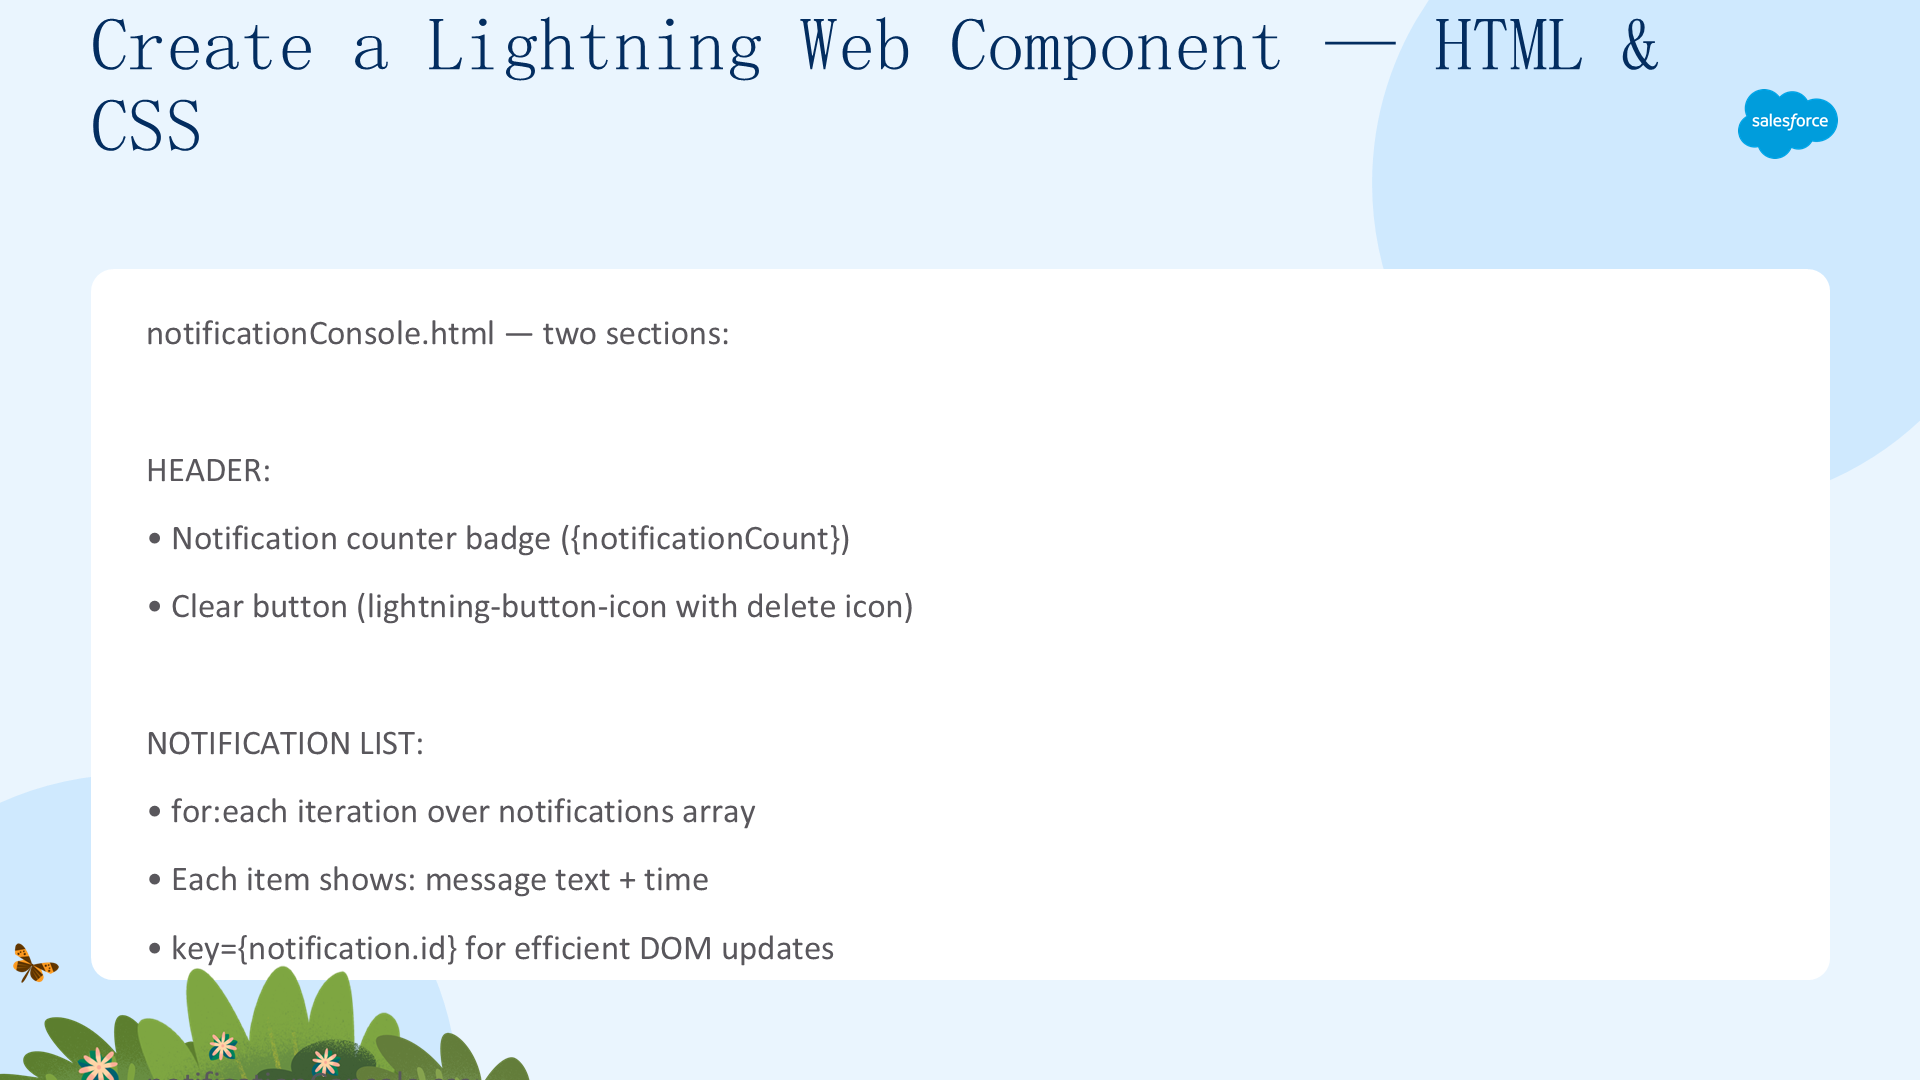
打开 notificationConsole.html,在 template 标签之间添加:
<div class="container">
  <!-- Header -->
  <div class="slds-p-around_x-small slds-border_bottom slds-theme_shade">
    <div class="slds-grid slds-grid_align-spread slds-grid_vertical-align-center">
      <span class="slds-badge slds-badge_inverse">{notificationCount}</span>
      <lightning-button-icon
        onclick={handleClearClick}
        icon-name="utility:delete"
        title="Clear notifications"
        alternative-text="Clear notifications"
        variant="border-filled"
      ></lightning-button-icon>
    </div>
  </div>
  <!-- Notification list -->
  <div class="slds-container_fluid slds-scrollable_y content">
    <template for:each={notifications} for:item="notification">
      <div key={notification.id} class="slds-p-around_small slds-border_top">
        <div class="slds-grid slds-grid_align-spread slds-has-flexi-truncate">
          <p>{notification.message}</p>
          <p class="slds-text-color_weak slds-p-left_x-small">{notification.time}</p>
        </div>
      </div>
    </template>
  </div>
</div>
组件包含两部分:带通知计数器和清除按钮的头部,以及显示消息和接收时间的通知列表。再创建 notificationConsole.css:
.container {
  height:100%;
}
.content {
  height:calc(100% - 49px);
}
最后打开 notificationConsole.js-meta.xml,把 isExposed 标签替换为:
<isExposed>true</isExposed>
<targets>
  <target>lightning__UtilityBar</target>
</targets>
isExposed=true 把组件暴露给 Lightning App Builder,lightning__UtilityBar target 允许组件作为 utility 项添加。右键 lwc 文件夹选择 SFDX: Deploy Source to Org 部署。
部署 Lightning Console 应用
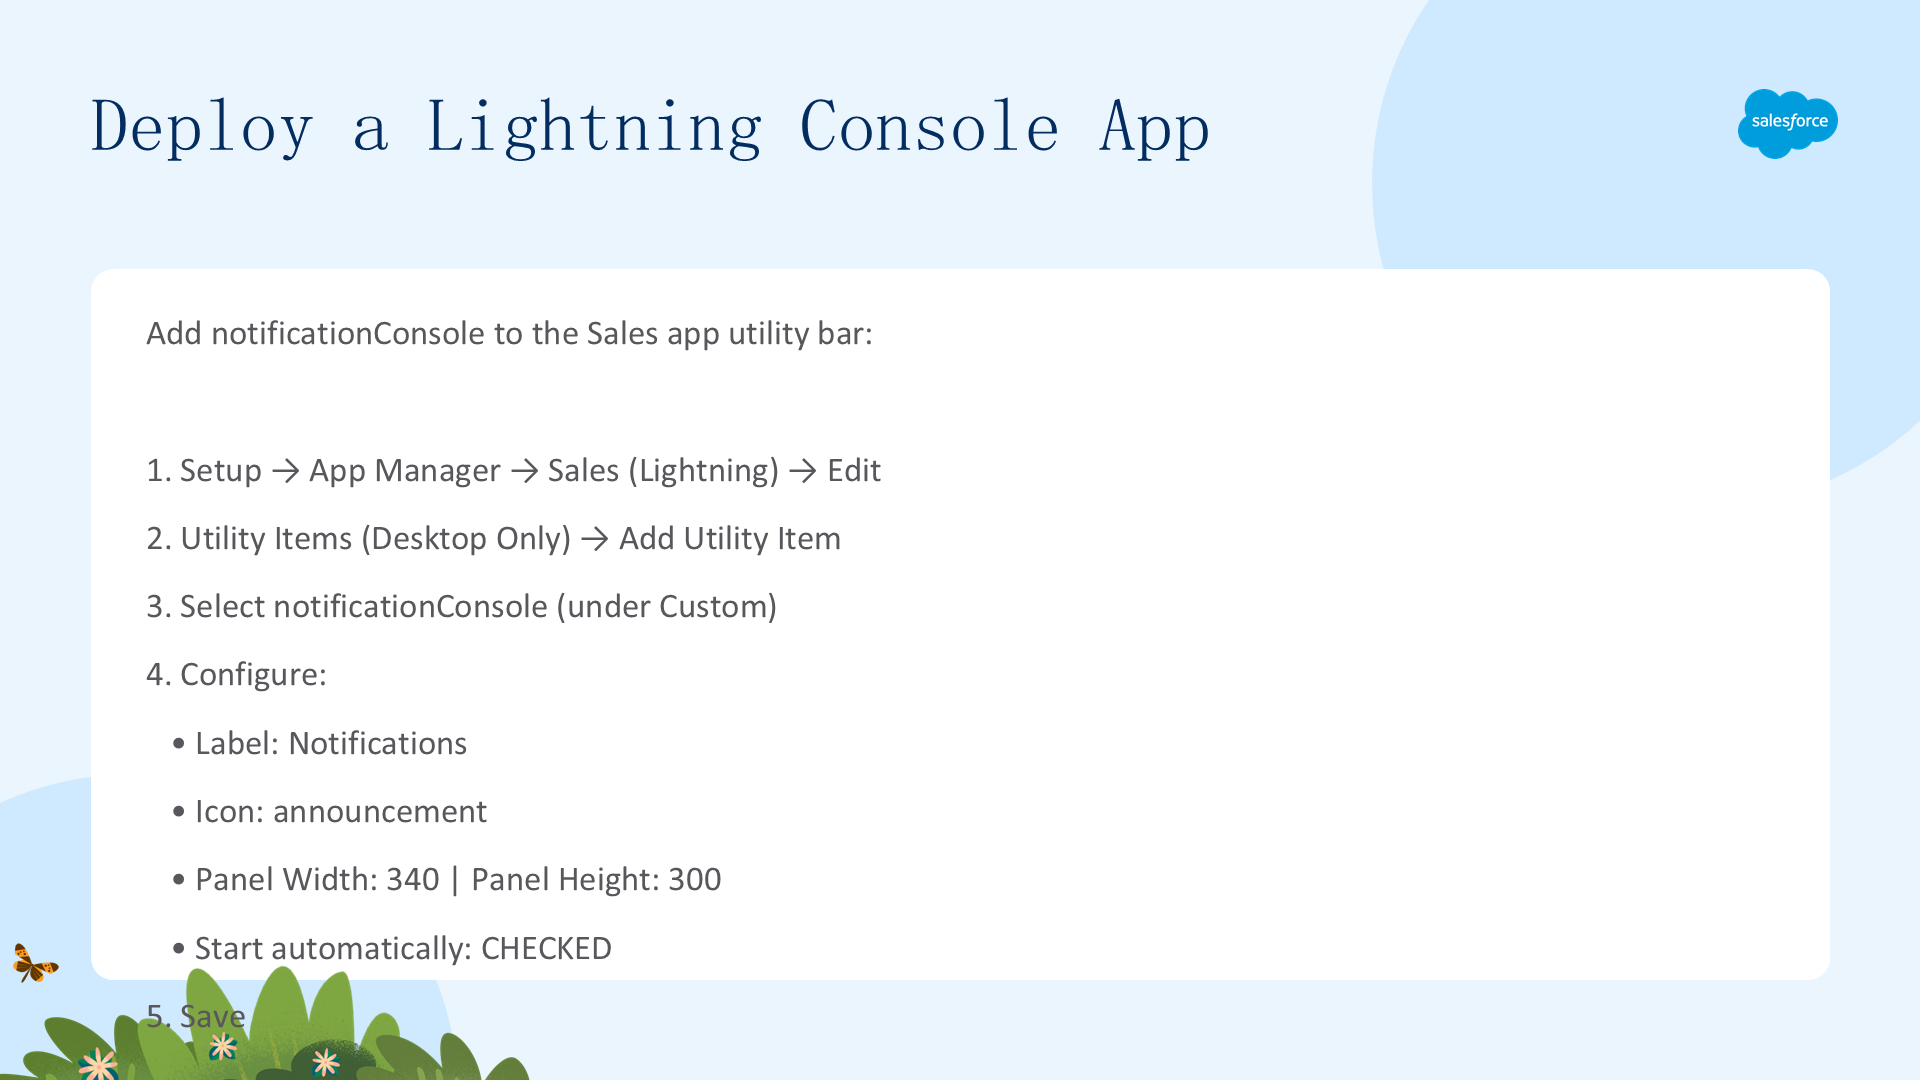
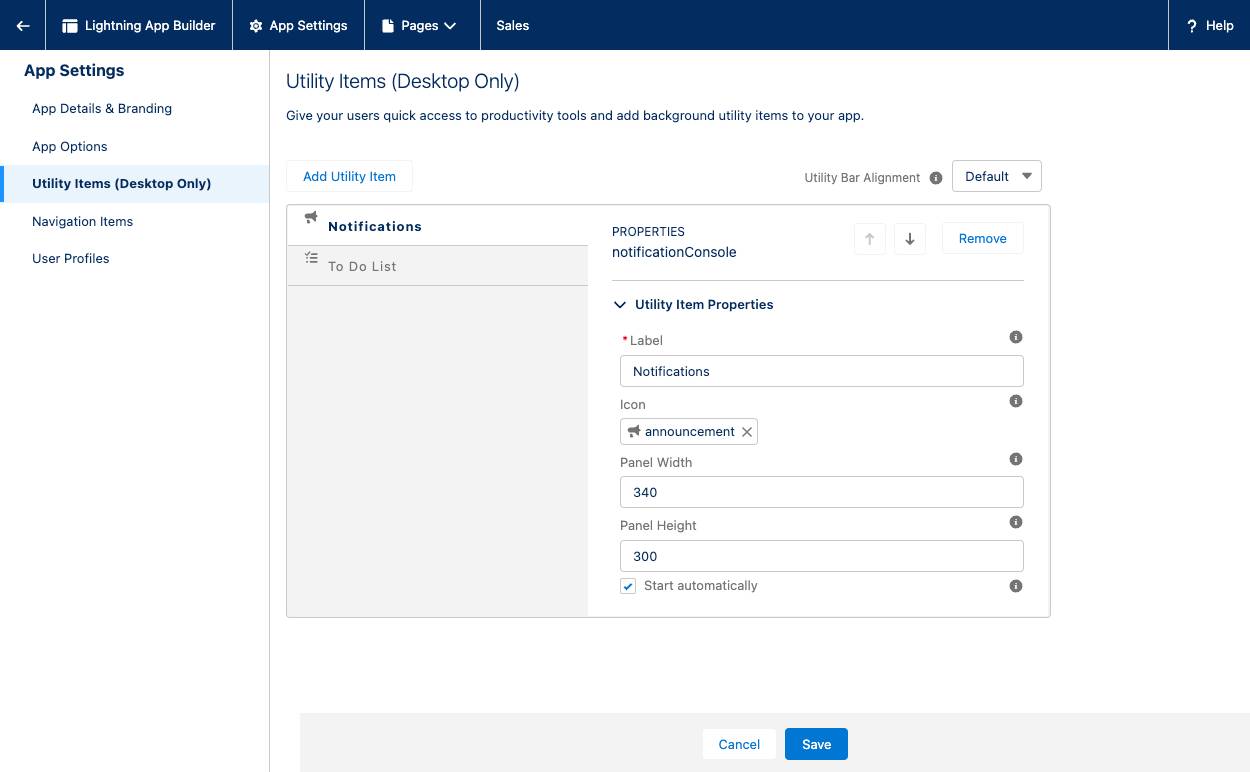
- Setup → App Manager → 找到 Lightning 启用的 Sales 应用 → 点击右侧向下箭头选 Edit。
- 导航到 Utility Items (Desktop Only),点击 Add Utility Item。
- 在 Custom 下选 notificationConsole。
- 设置:Label=
Notifications、Icon=announcement、Panel Width=340、Panel Height=300、勾选 Start automatically。
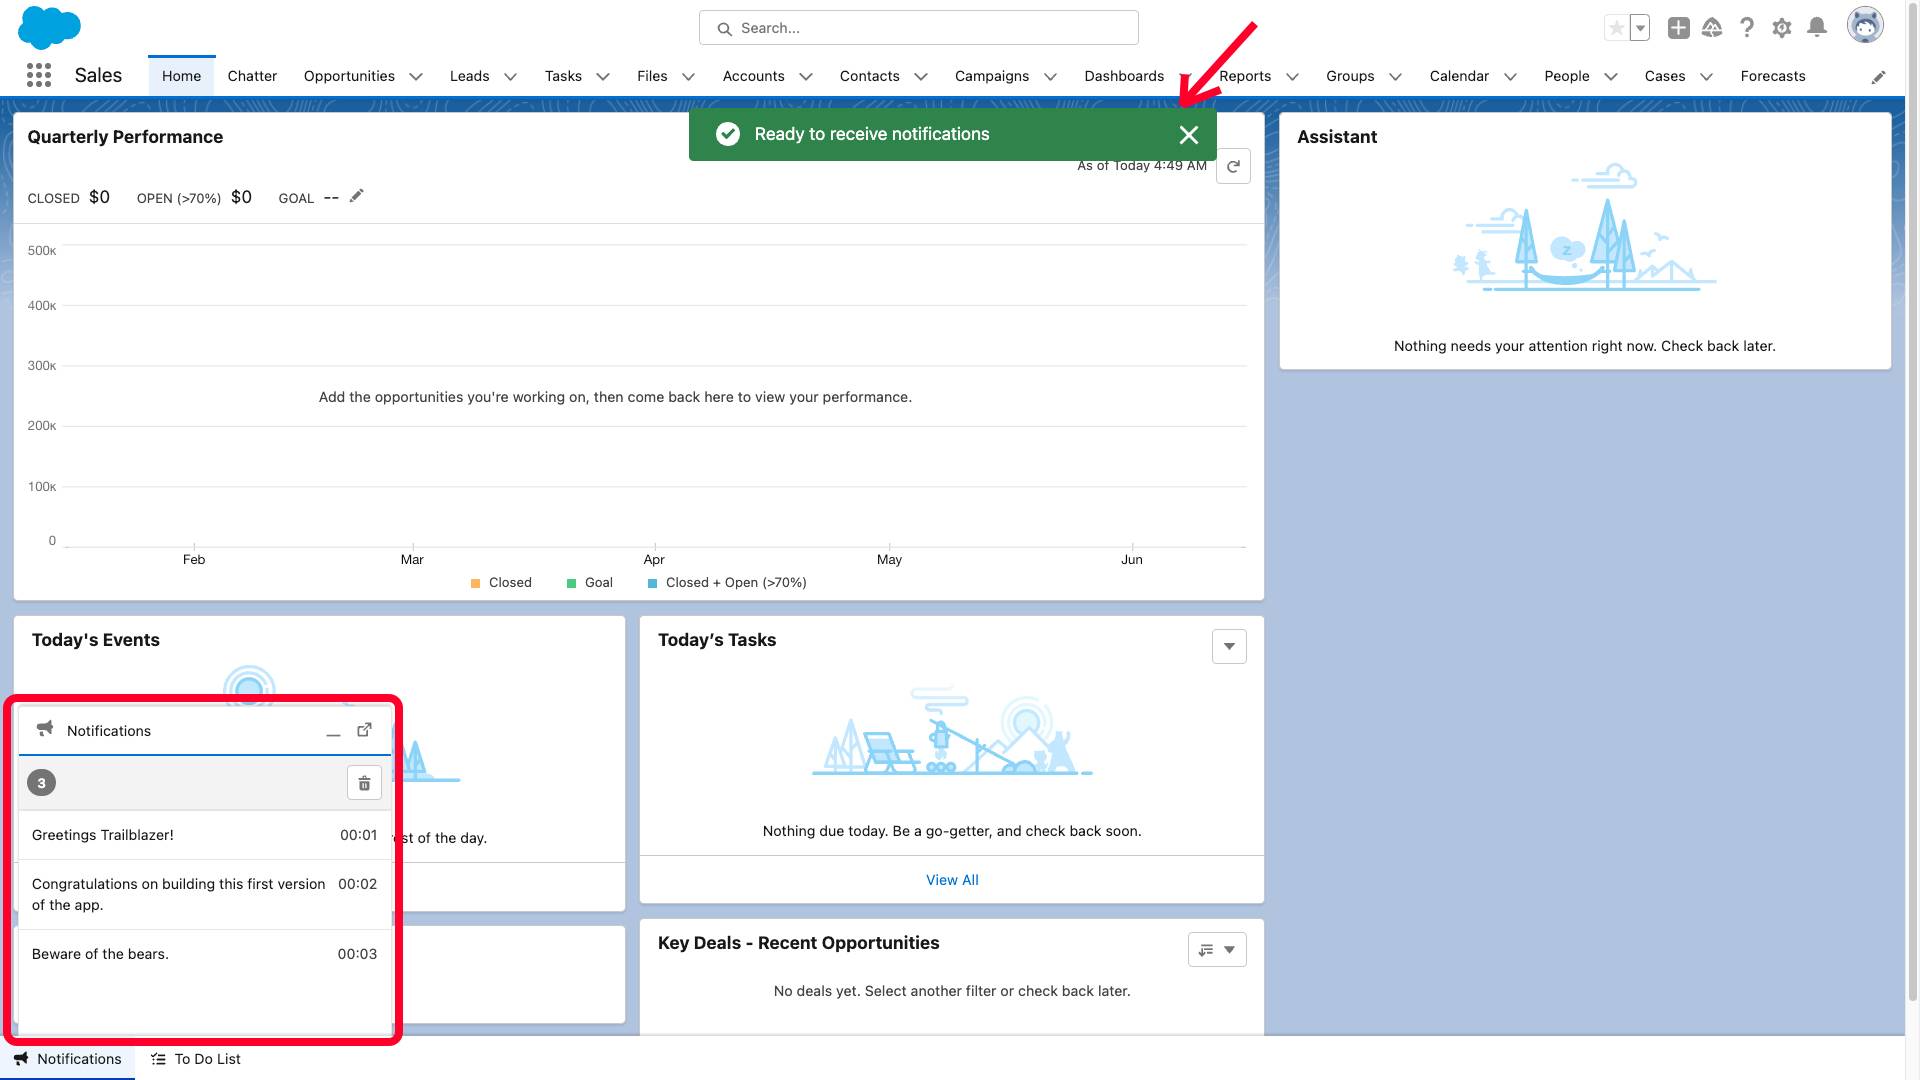
点击 Save,再点击 Back。从 App Launcher 选择 Sales,会看到「Ready to receive notifications」toast 和屏幕底部的 Notifications 控制台应用。点击它展开,显示三条硬编码的通知。
订阅平台事件
本单元用 lightning/empApi 模块更新 notificationConsole,订阅 Notification 平台事件,处理传入事件,并用 Bear Watch Heroku 应用测试。
更新组件(EMP API 订阅)
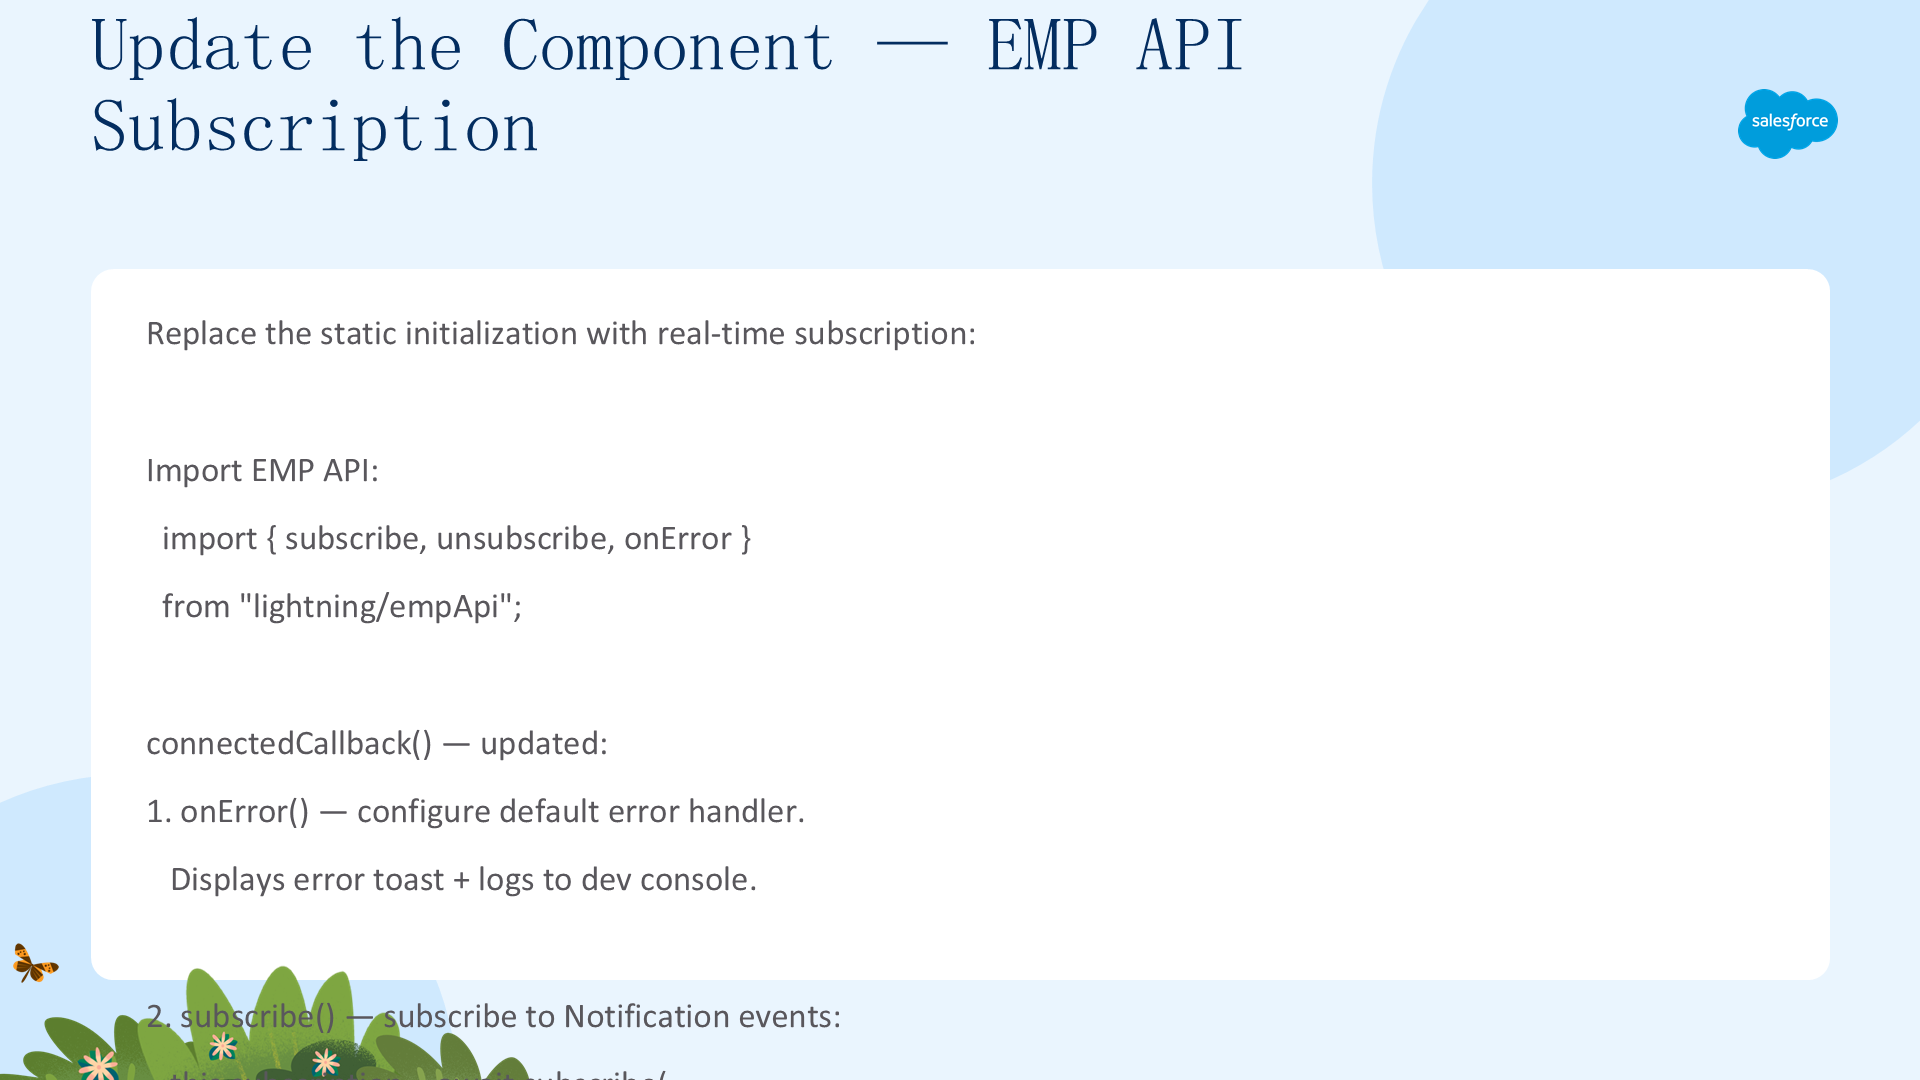
在 notificationConsole.js 顶部导入 lightning/empApi,并替换 connectedCallback() 方法体:
import { subscribe, unsubscribe, onError } from "lightning/empApi";
// Configure default error handler for the EMP API
onError((error) => {
  this.dispatchEvent(
    new ShowToastEvent({
      variant: "error",
      title: "EMP API Error",
      message: "Check your browser's developer console for mode details."
    })
  );
  console.log("EMP API error reported by server: ", JSON.stringify(error));
});
// Subscribe to our notification platform event with the EMP API
this.subscription = await subscribe(
  "/event/Notification__e",
  -1,
  (event) => this.handleNotificationEvent(event)
);
// Display a toast to inform the user that we're ready to receive notifications
this.dispatchEvent(
  new ShowToastEvent({
    variant: "success",
    title: "Ready to receive notifications"
  })
);
代码要点:用 empApi.onError() 创建默认错误处理器,把流错误以 toast 和浏览器控制台日志报告;调用异步 empApi.subscribe() 订阅所有新的 Notification__e 事件;把订阅信息存入 subscription 属性以便稍后退订。
更新组件(事件处理与清理)
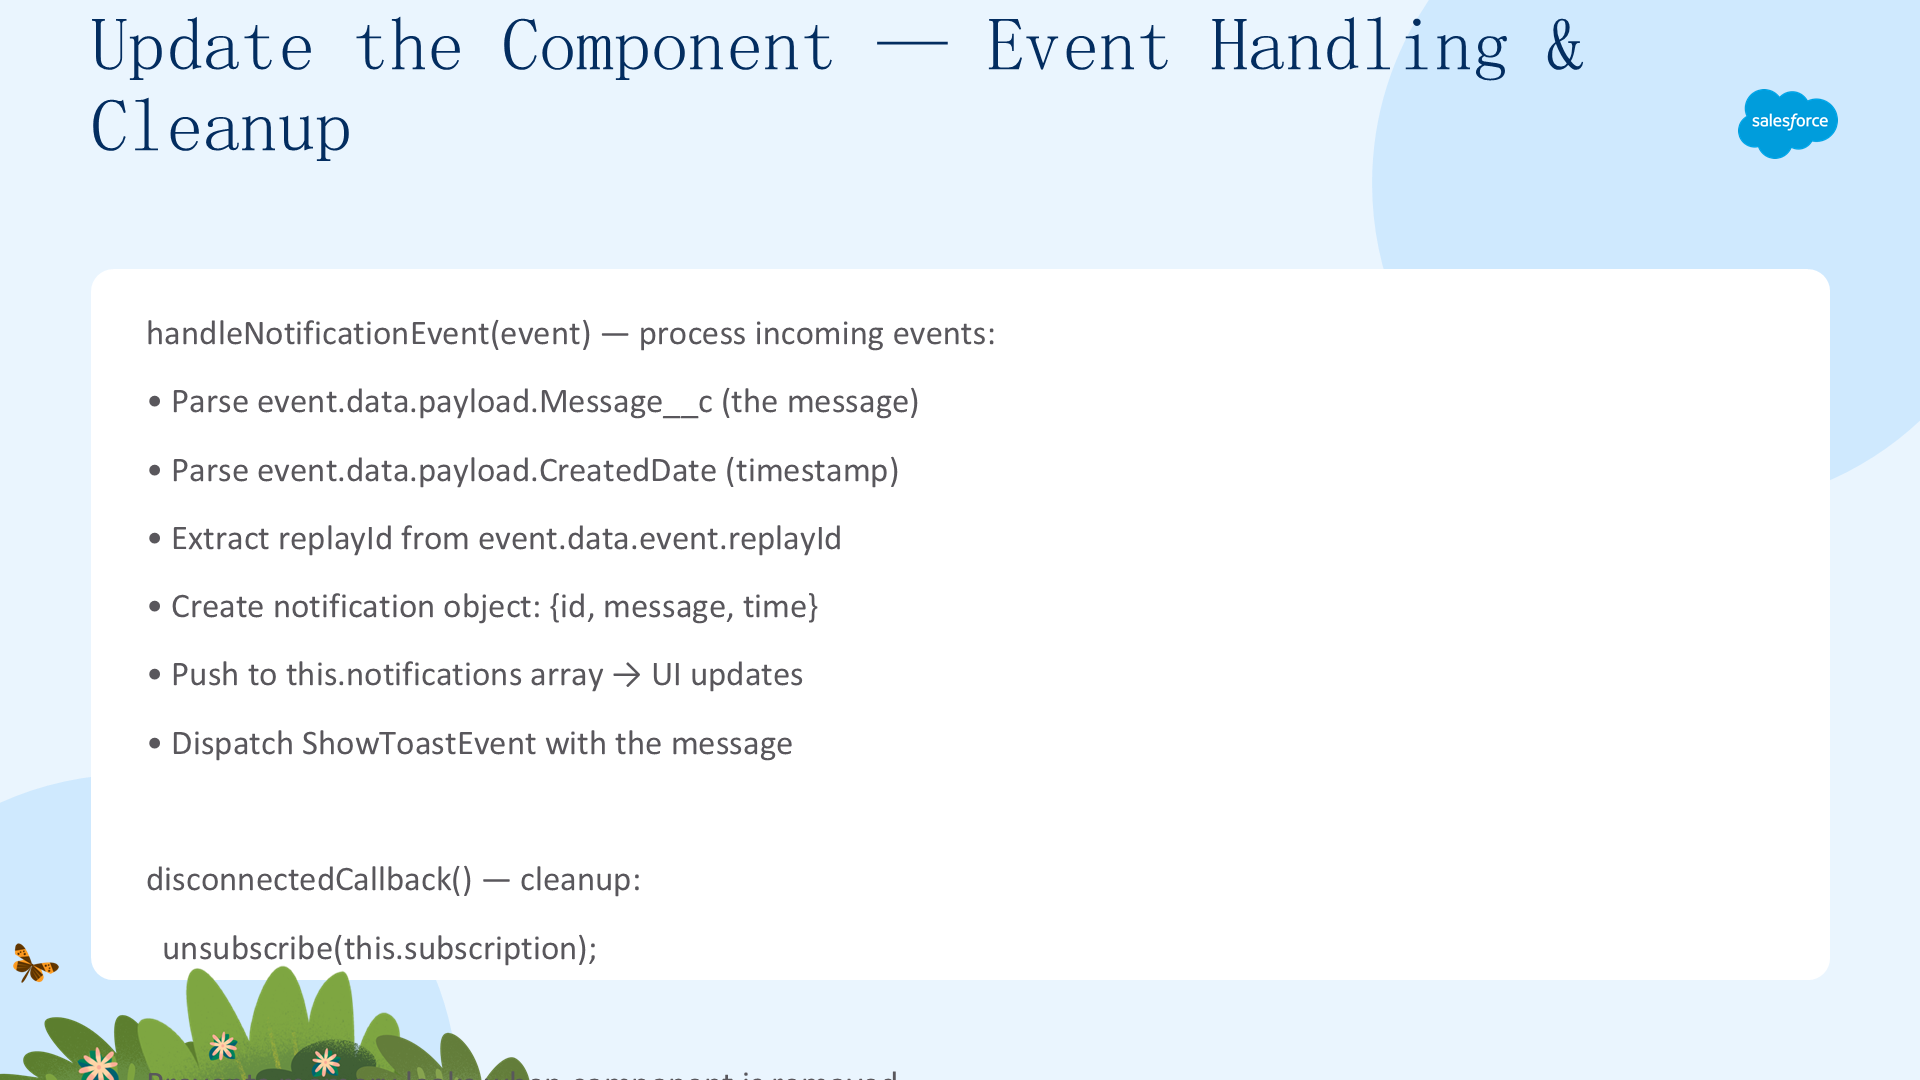
添加 handleNotificationEvent 方法(解析 Notification 平台事件并更新 UI),以及 disconnectedCallback()(组件移除时退订):
handleNotificationEvent(event) {
  console.dir(event);
  // Parse event data
  const id = event.data.event.replayId;
  const message = event.data.payload.Message__c;
  const utcDate = new Date(event.data.payload.CreatedDate);
  const time = `${utcDate.getMinutes()}:${utcDate.getSeconds()}`;
  // Add notification to view
  const notification = {
    id,
    message,
    time
  };
  this.notifications.push(notification);
  // Show notification message as a toast
  this.dispatchEvent(
    new ShowToastEvent({
      variant: "info",
      title: message
    })
  );
}
disconnectedCallback() {
  // Unsubscribe from EMP API
  unsubscribe(this.subscription);
}
重新部署组件(右键 lwc 文件夹 → SFDX: Deploy Source to Org),刷新 Sales 应用加载更新。
测试即时通知应用
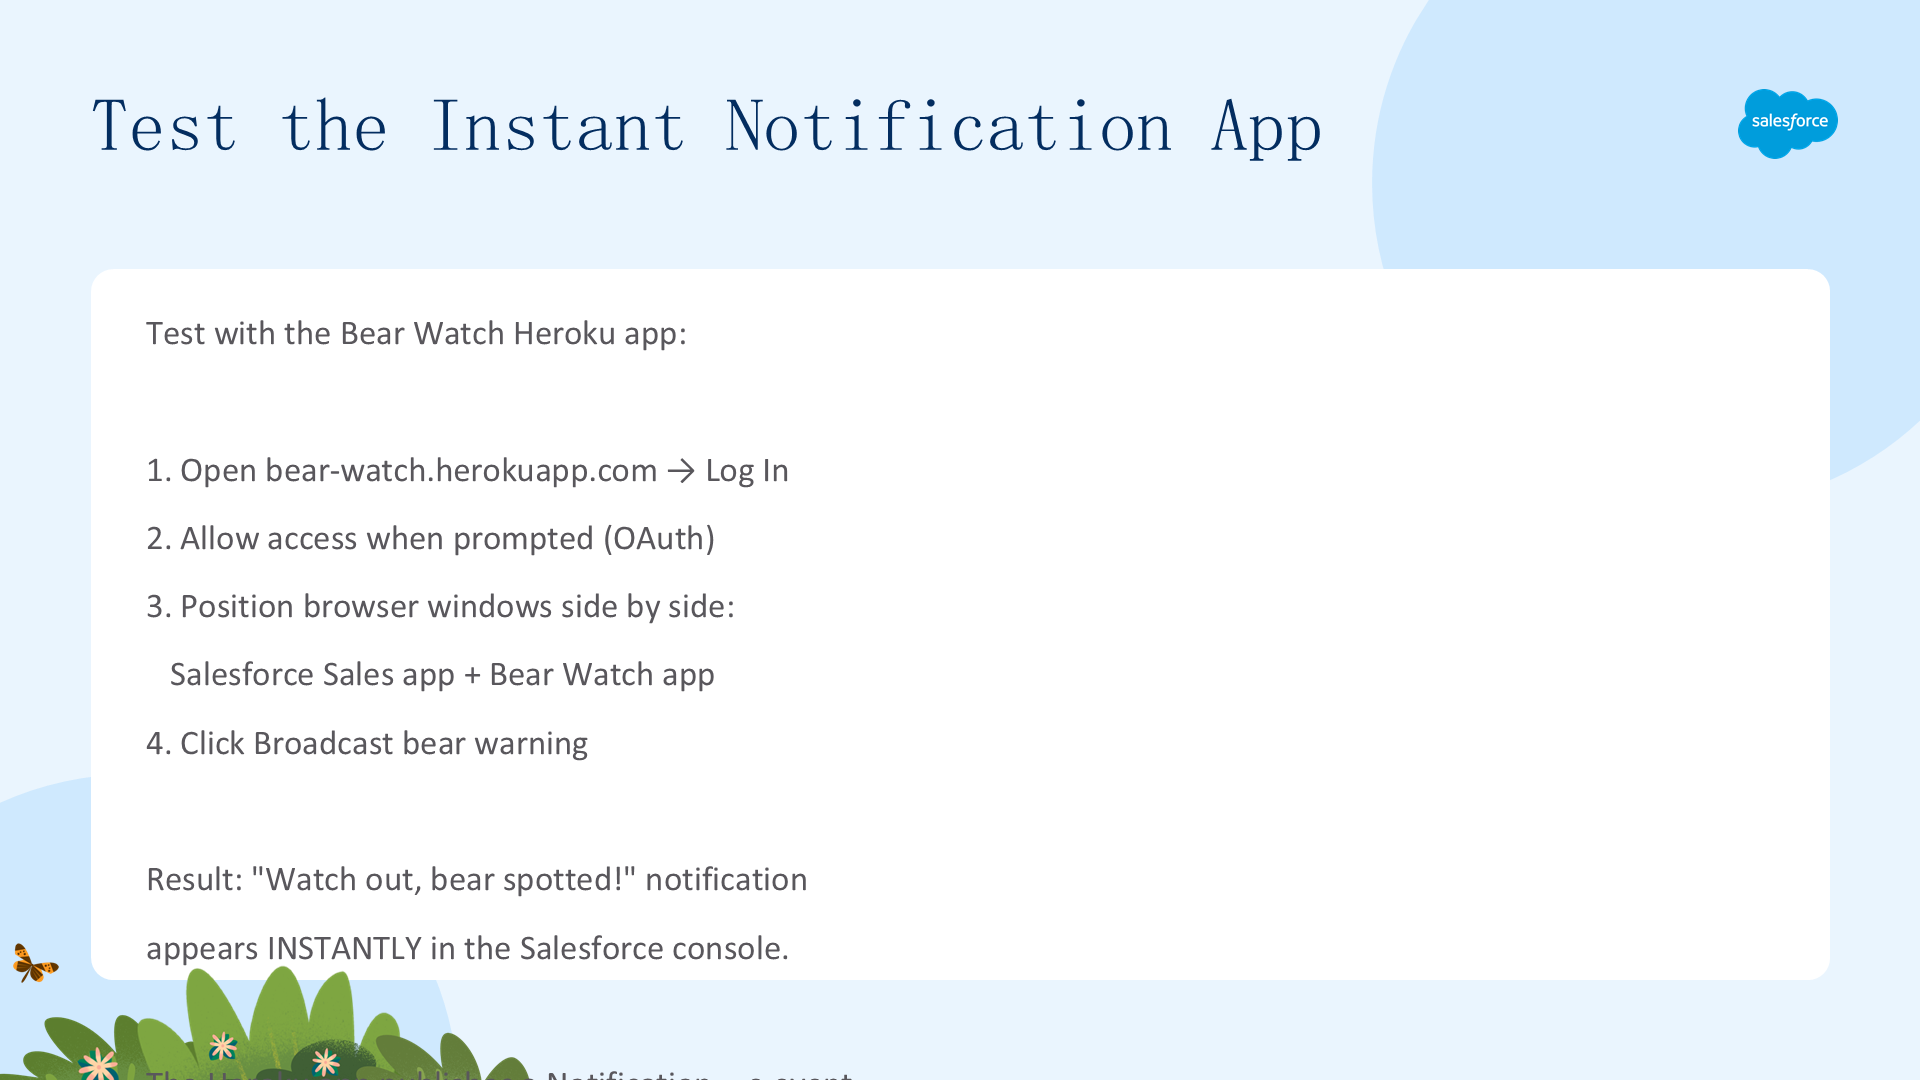
用外部应用 Bear Watch Heroku app 测试:
- 打开 Bear Watch Heroku app,点击 Log In。
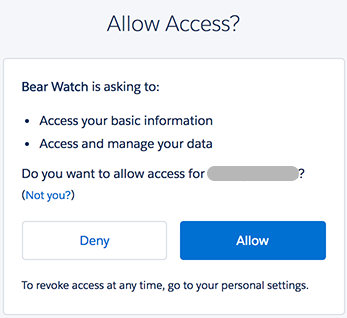
- 出现访问授权提示时点击 Allow。
- 调整浏览器窗口,同时看到 Salesforce Sales 应用和 Bear Watch 应用。
- 点击 Broadcast bear warning。
「Watch out, bear spotted!」通知会立即出现在 Salesforce 窗口中。
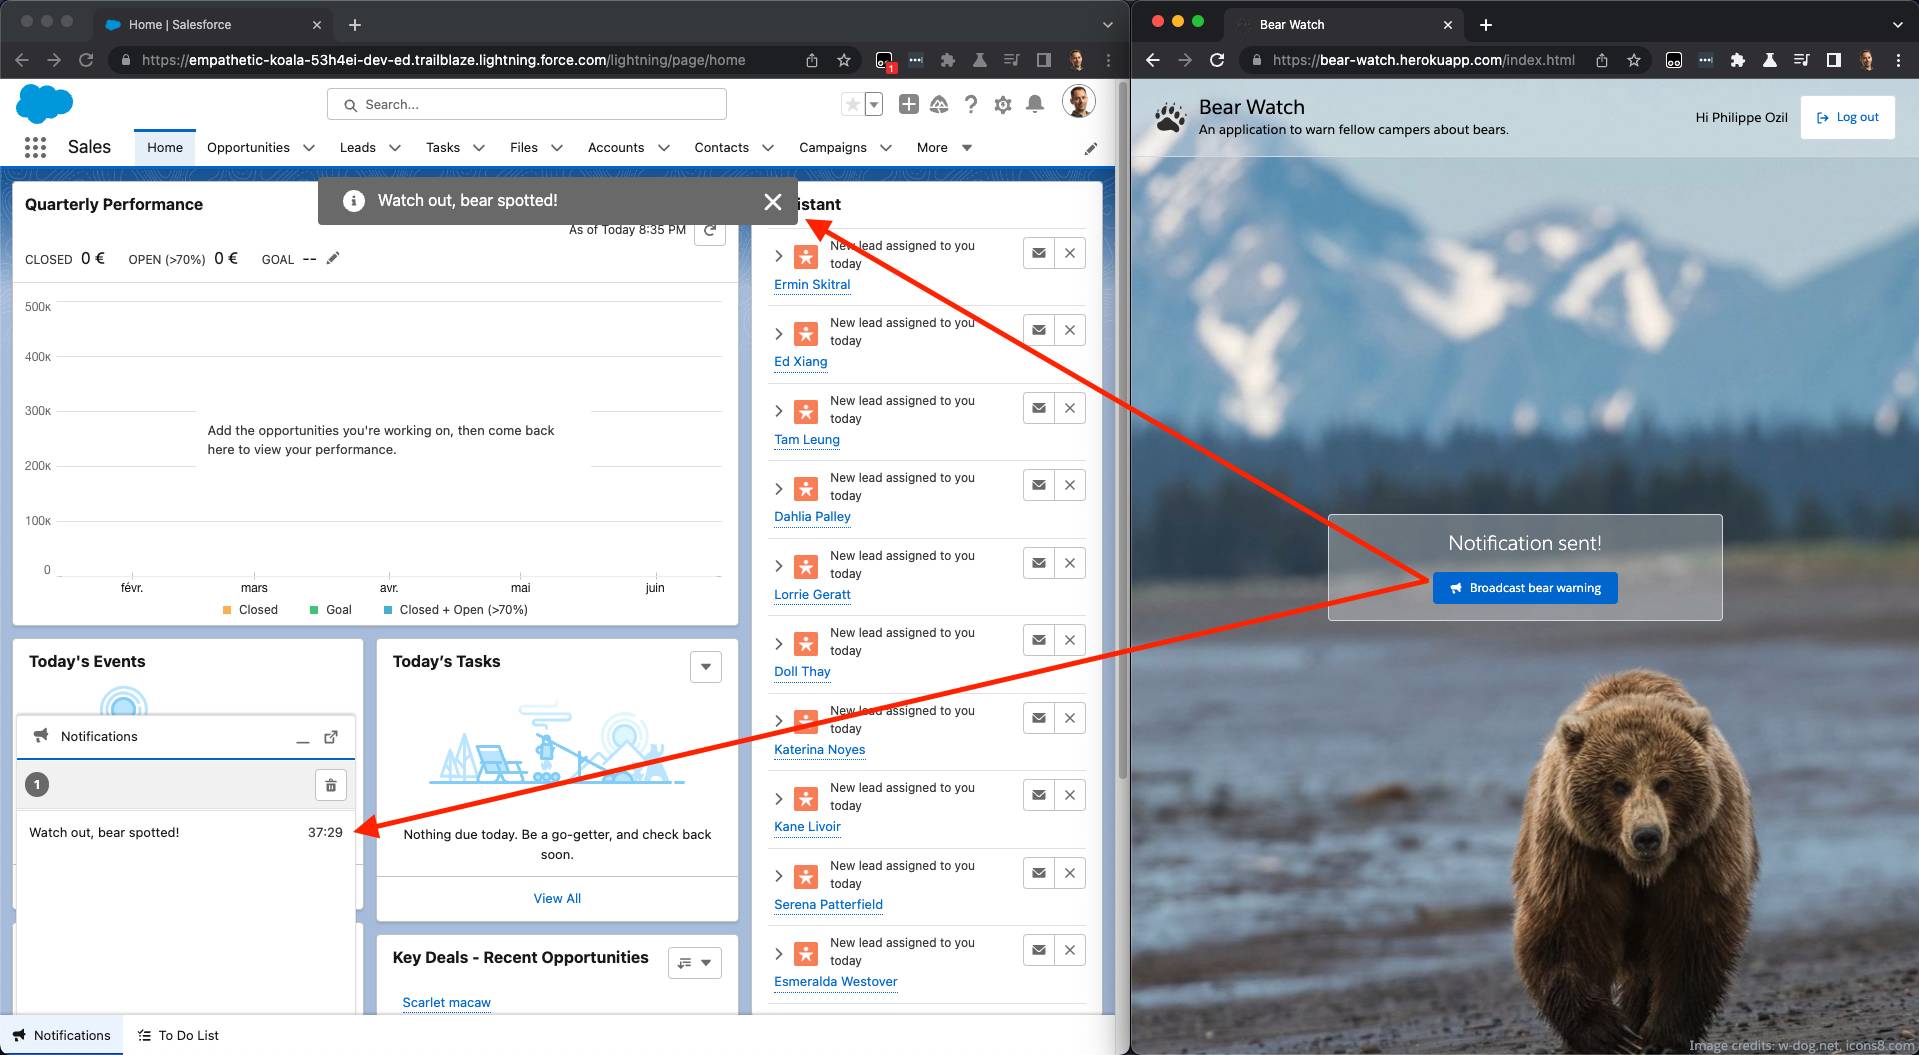
Heroku 应用发布 Notification__e 事件,EMP API 实时投递给订阅者——无轮询、无刷新,纯事件驱动的推送。
发布平台事件
本单元创建第二个发布者——一个 Chatter Apex trigger,当护林员发布含 #BearAlert 主题的帖子时,trigger 发布 Notification 事件。
实现 Chatter Apex Trigger(设置)
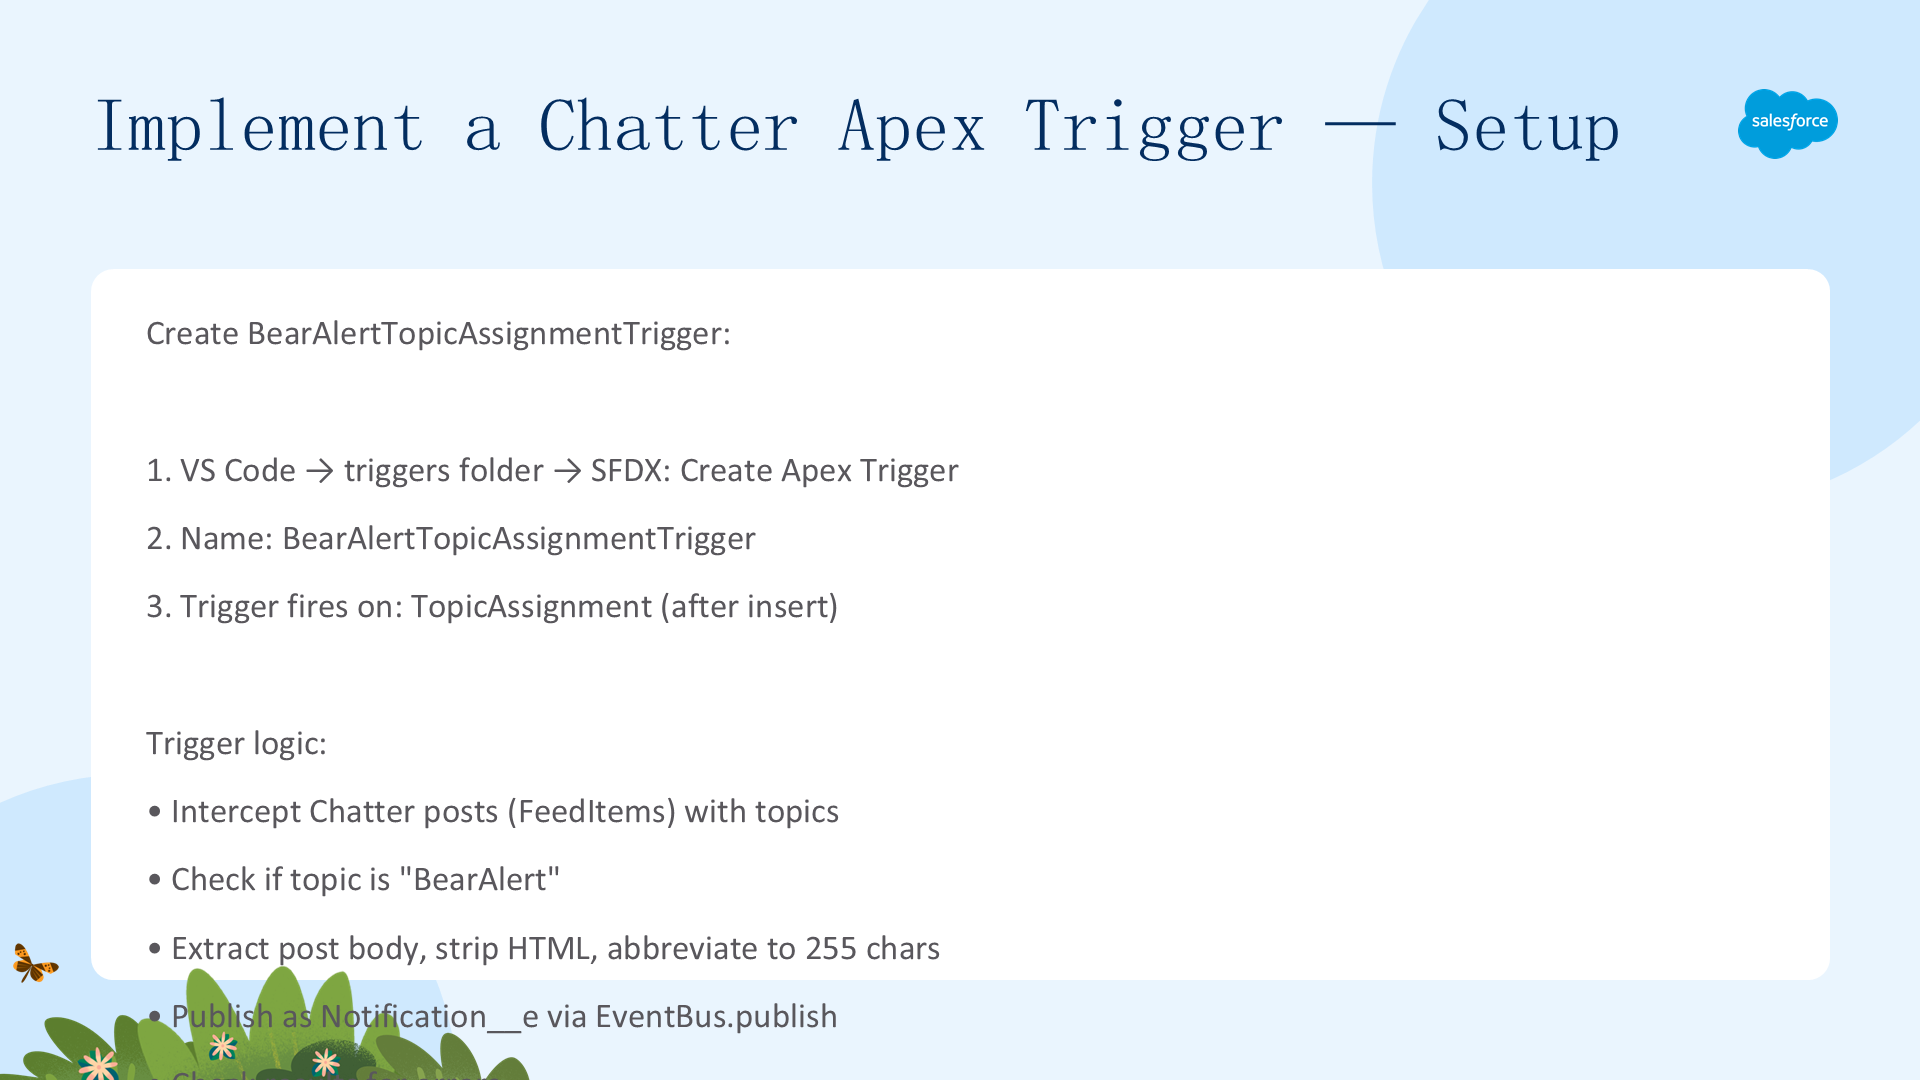
- 在 VS Code 的
force-app/main/default下右键 triggers 文件夹,选择 SFDX: Create Apex Trigger,命名BearAlertTopicAssignmentTrigger。 - 替换默认代码为:
trigger BearAlertTopicAssignmentTrigger on TopicAssignment (after insert) {
    // Get FeedItem posts only
    Set<Id> feedIds = new Set<Id>();
    for (TopicAssignment ta : Trigger.new){
        if (ta.EntityId.getSObjectType().getDescribe().getName().equals('FeedItem')) {
            feedIds.add(ta.EntityId);
        }
    }
    // Load FeedItem bodies
    Map<Id,FeedItem> feedItems = new Map<Id,FeedItem>([SELECT Body FROM FeedItem WHERE Id IN :feedIds]);
    // Create messages for each FeedItem that contains the BearAlert topic
    List<String> messages = new List<String>();
    for (TopicAssignment ta : [SELECT Id, EntityId, Topic.Name FROM TopicAssignment WHERE Id IN :Trigger.new AND Topic.Name = 'BearAlert']) {
        messages.add(feedItems.get(ta.EntityId).body.stripHtmlTags().abbreviate(255));
    }
    // Publish messages as notifications
    List<Notification__e> notifications = new List<Notification__e>();
    for (String message: messages) {
        notifications.add(new Notification__e(Message__c = message));
    }
    List<Database.SaveResult> results = EventBus.publish(notifications);
    // Inspect publishing results
    for (Database.SaveResult result : results) {
        if (!result.isSuccess()) {
            for (Database.Error error : result.getErrors()) {
                System.debug('Error returned: ' + error.getStatusCode() +' - '+ error.getMessage());
            }
        }
    }
}
右键 triggers 文件夹选择 SFDX: Deploy Source to Org 部署。
实现 Chatter Apex Trigger(代码要点)
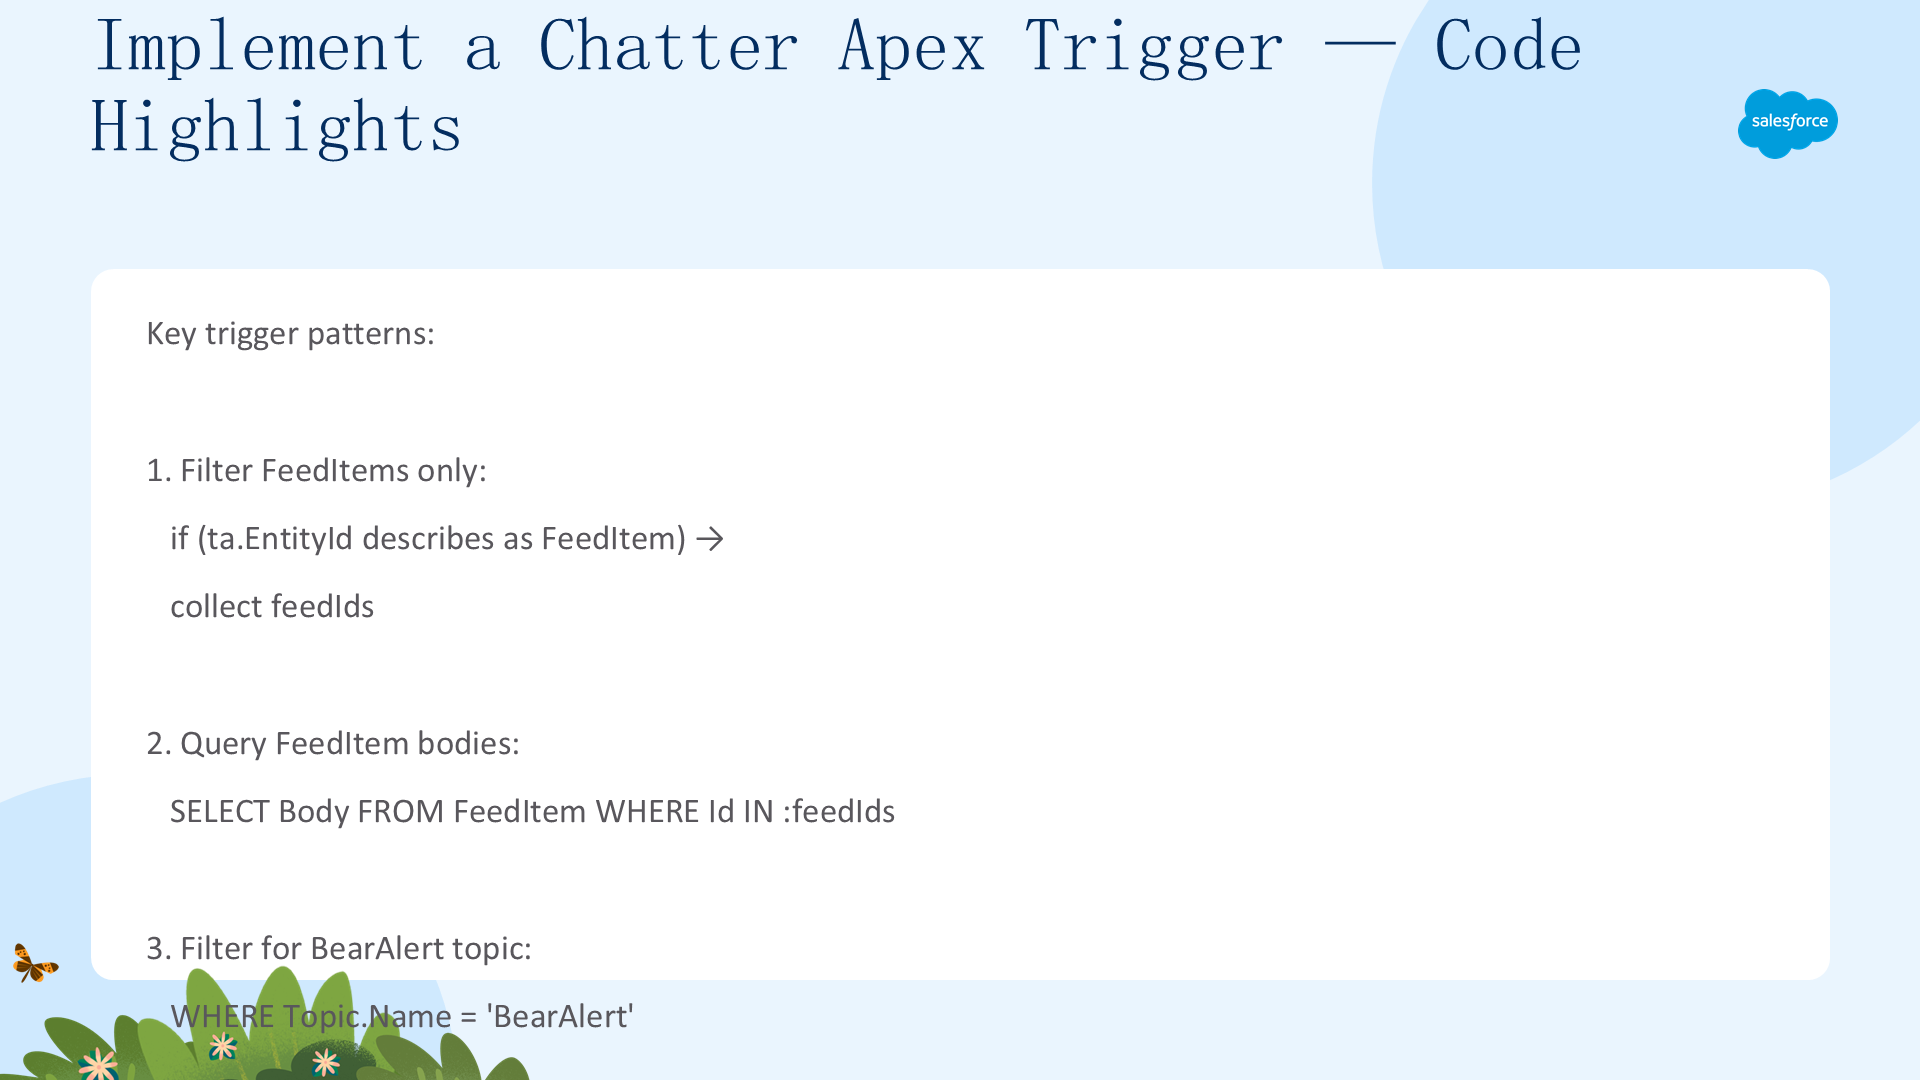
trigger 的关键模式:
- 只拦截 FeedItem 帖子(判断
EntityId是否为 FeedItem)。 - 查询 FeedItem 的 Body。
- 按
Topic.Name = 'BearAlert'过滤。 - 构建
Notification__e记录(Message__c为帖子内容,去除 HTML、截断到 255 字符)。 - 用
EventBus.publish发布。 - 遍历 SaveResult 检查错误,用
System.debug记录。
测试 Chatter Trigger
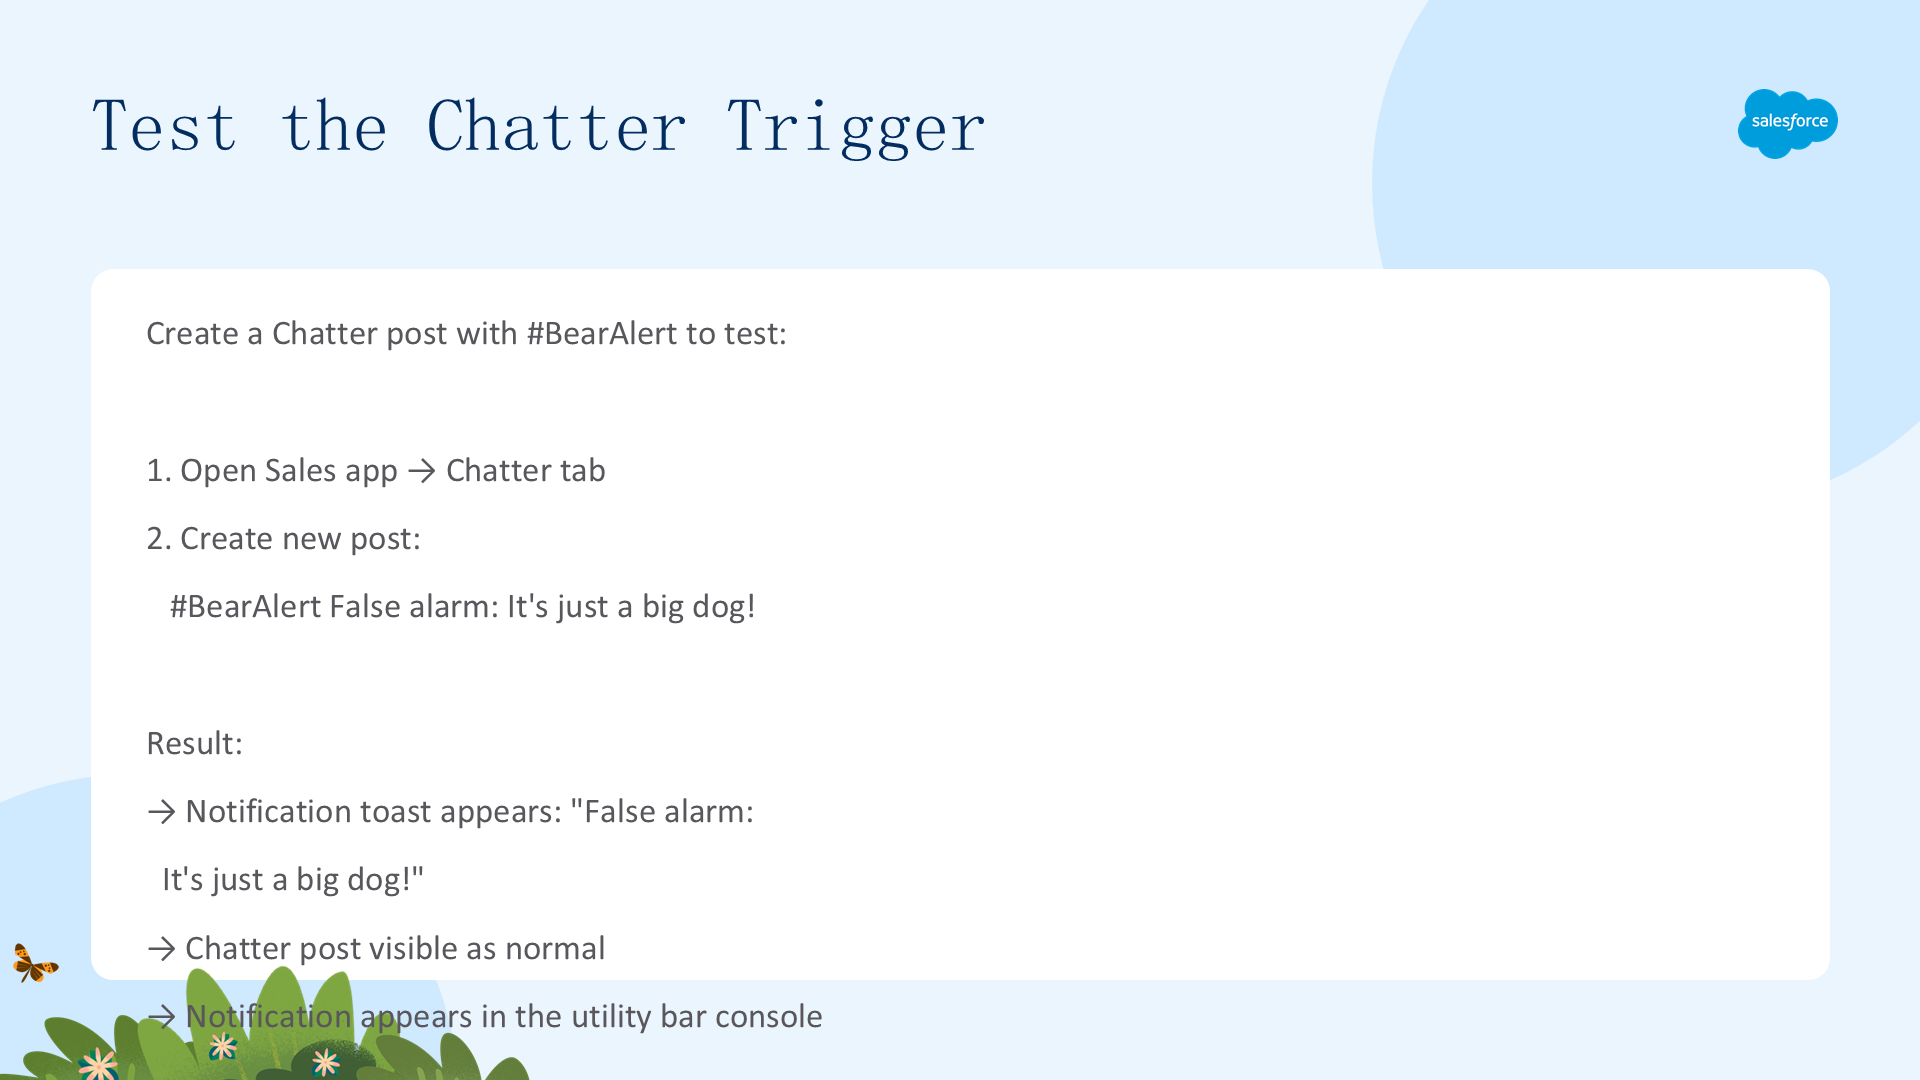
- 从 App Launcher 选 Sales(或刷新浏览器)。
- 点击 Chatter,创建新帖子:
#BearAlert False alarm: It's just a big dog!
此时消息会同时以两种形式出现:通知 toast 和 Chatter 帖子。
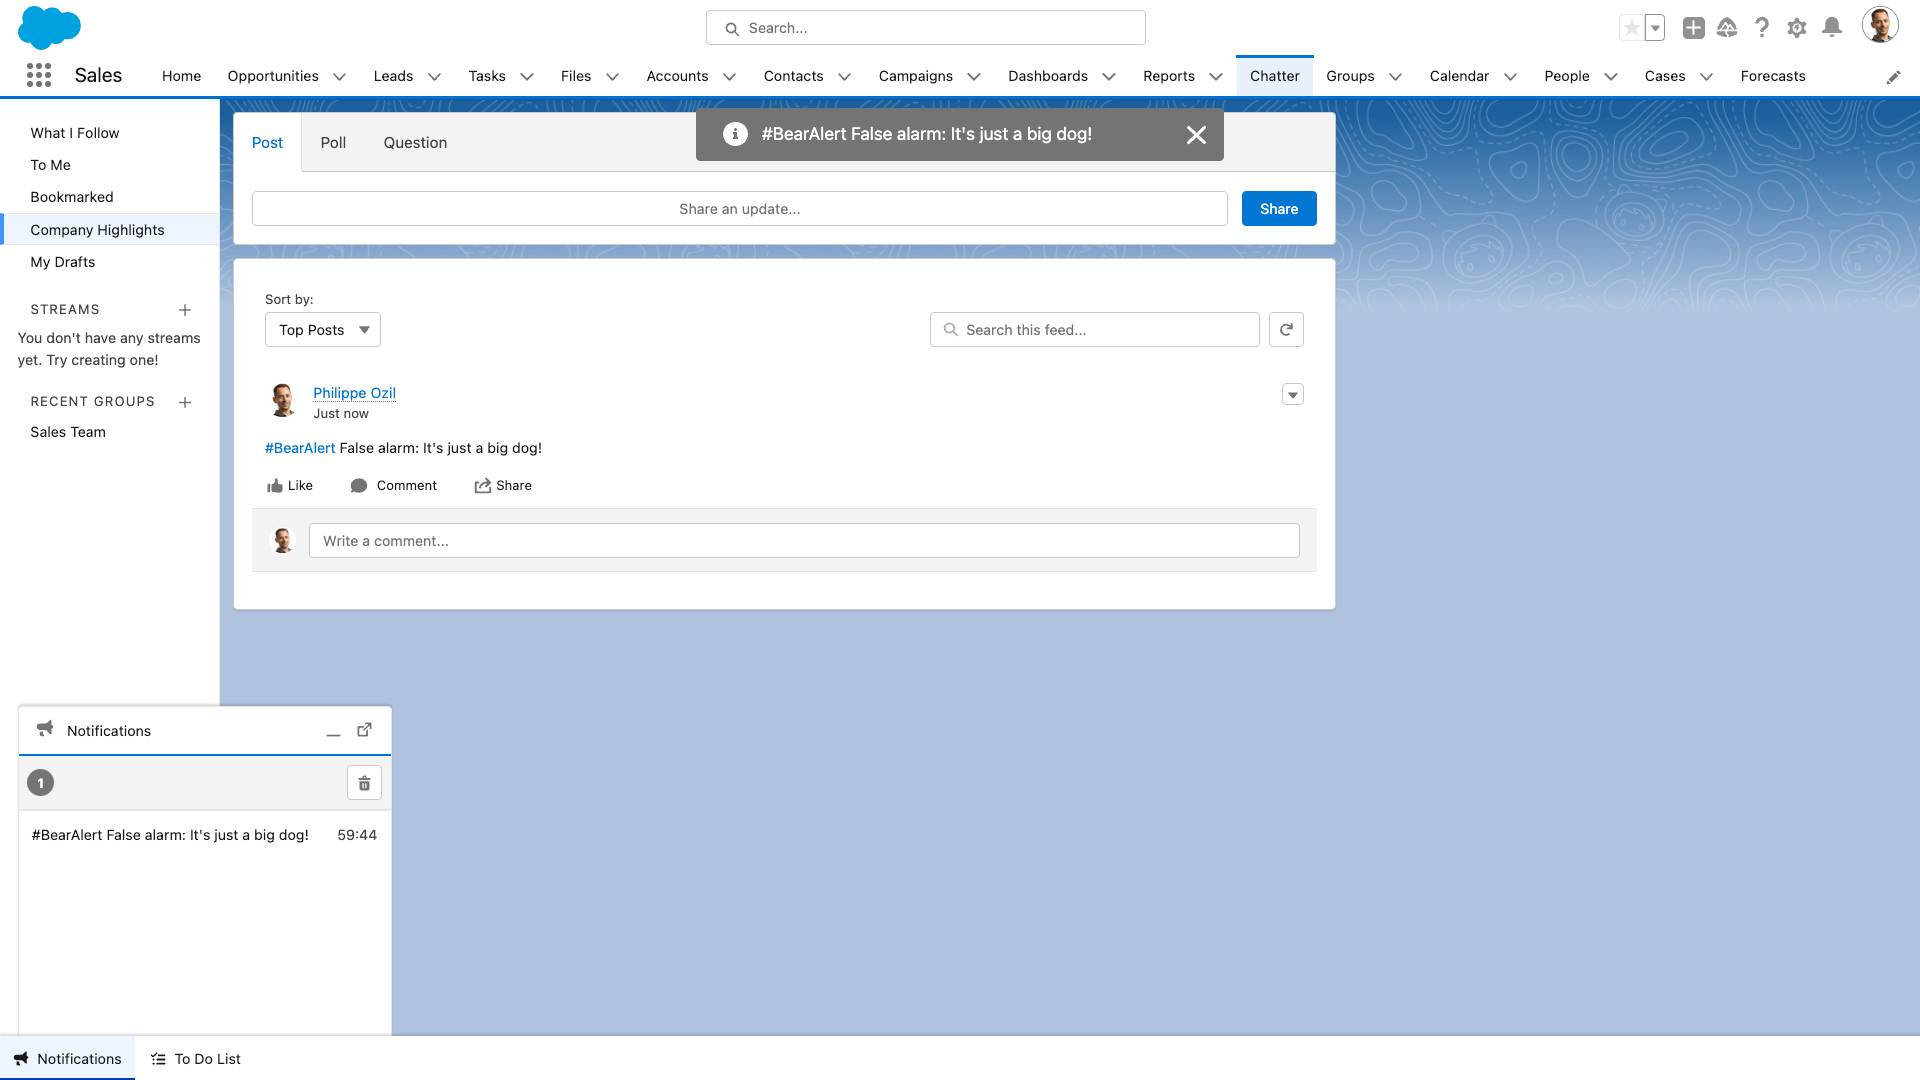
两个通知源同时工作:外部 Heroku 应用通过 REST API 发布,内部 Chatter trigger 通过 Apex 发布——两者都实时投递到同一个订阅者。
项目总结
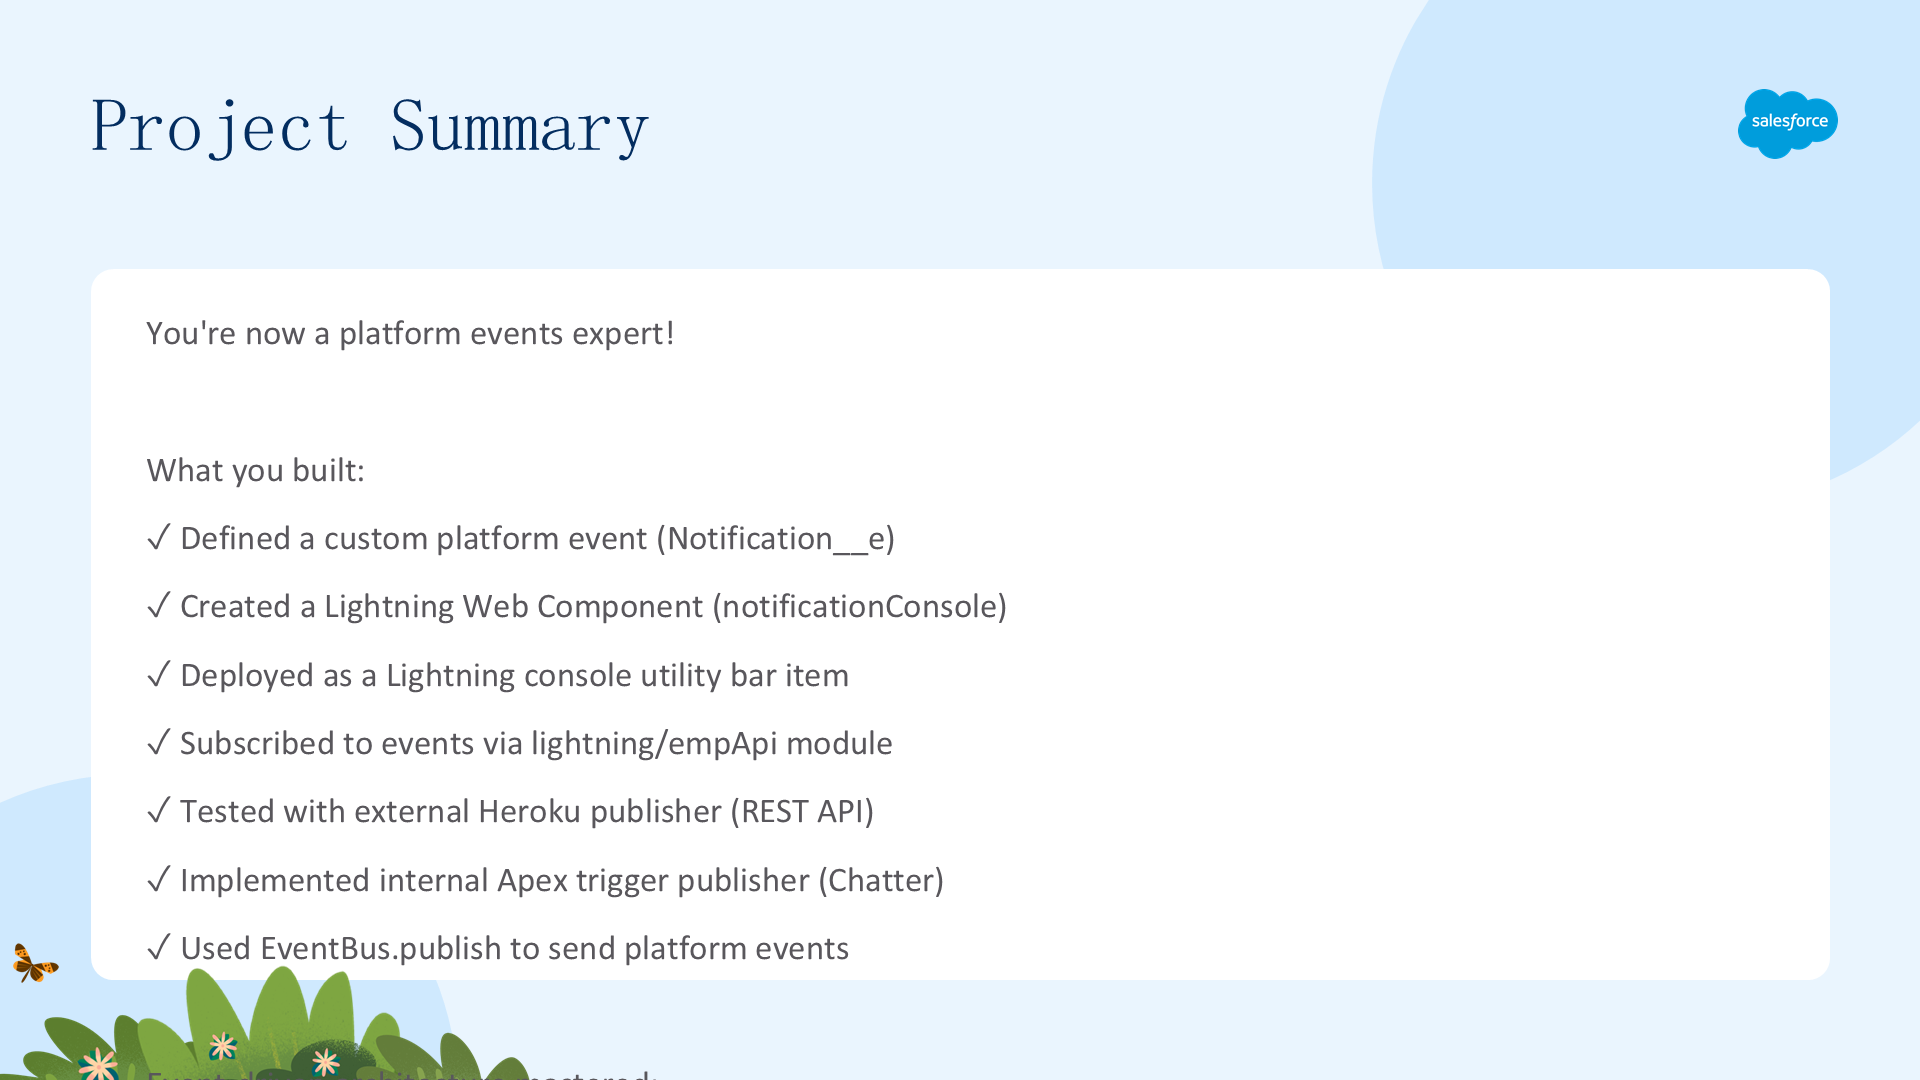
恭喜,你现在是平台事件专家了!你掌握了:定义自定义平台事件(Notification__e)、创建 Lightning Web Component(notificationConsole)、部署为 Lightning console 的 utility bar 项、通过 lightning/empApi 订阅事件、用外部 Heroku 发布者测试、实现内部 Apex trigger 发布者,以及用 EventBus.publish 发送平台事件。
你掌握了事件驱动架构:发布者 → Event Bus → 订阅者。把这些知识应用到构建自己的事件驱动应用吧。